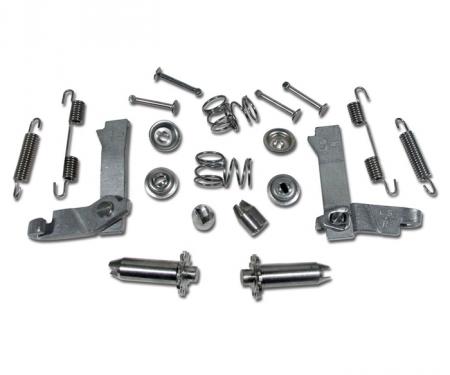
This Stainless Steel Trailing Arm Shim Kit (with bolts) is a direct-fit suspension component for 1963–1982 Chevrolet Corvette models. The kit provides precision shims to correct trailing arm location and restore proper rear suspension geometry, improving handling, reducing uneven tire wear, and eliminating excessive play caused by worn factory shims. Made from corrosion-resistant stainless steel and supplied with matching hardware, the kit is built for durability and long-term reliability — ideal for restoration projects or routine maintenance of classic Corvettes.
Features:
- Fits 1963–1982 Chevrolet Corvette (models using the trailing arm shim suspension setup).
- Precision stainless steel shims restore correct trailing arm position and suspension geometry.
- Includes corrosion-resistant stainless steel bolts for a complete replacement solution.
- Helps reduce tire wear, tighten rear handling, and eliminate excess play from worn shims.
- Direct replacement for factory shims for period-correct restoration and reliable performance.
- Durable, rust-resistant construction for long service life in road or stored vehicles.
- Designed for straightforward installation with common hand tools.
Installation / Application:
- Difficulty: 3/5
- Estimated time: 60–120 minutes (per axle, depending on access and experience)
Instructions:
- Safely park on level ground, chock front wheels, loosen rear wheel lug nuts slightly.
- Raise the rear of the vehicle with a floor jack and support securely on jack stands. Remove the rear wheel to gain access.
- Apply penetrating oil to trailing arm pivot/bolt area and allow to soak if bolts are corroded.
- Support the trailing arm if needed to relieve load, then remove the trailing arm pivot bolt(s) or retaining hardware as required by your chassis layout.
- Carefully note the location and order of any existing shims; remove old shims and hardware and inspect the trailing arm and mounting surfaces for wear or damage.
- Clean mating surfaces with a wire brush or rag to remove rust and debris. Test-fit the new stainless shims to confirm correct orientation and stack order.
- If desired, apply a thin layer of anti-seize to bolt threads (recommended when mixing stainless hardware with steel components) and install the new stainless bolts with the shims in place. Start bolts by hand to ensure proper thread engagement.
- Tighten bolts snugly, then torque to the factory specification using a calibrated torque wrench (refer to the Corvette service manual for exact torque values).
- Reinstall the wheel, lower the car, and torque the lug nuts to specification. Repeat for the opposite side if replacing both.
- After installation, have a professional wheel alignment performed to confirm rear geometry and prevent uneven tire wear. Perform a short test drive and recheck fastener torque after initial miles.
Vehicle Fitment:
The Vehicle Fitment Guide is to be used as a general reference. The data has been provided by our suppliers and manufacturers and may contain errors or incorrect data. Always refer to a professional to verify correct fitment for your vehicle.
| Make |
Model |
Years |
| Chevrolet |
Corvette |
1963 - 1982 |