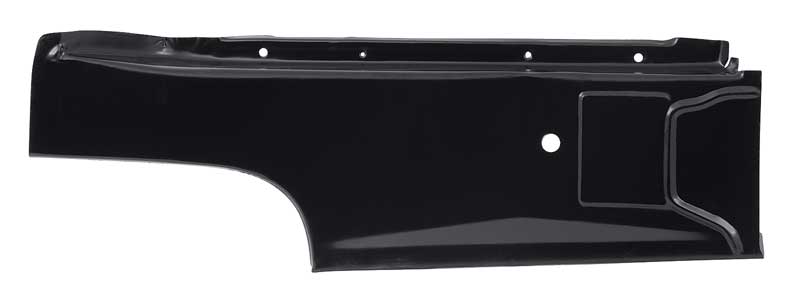
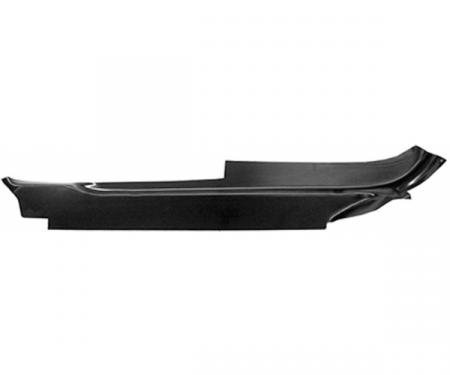
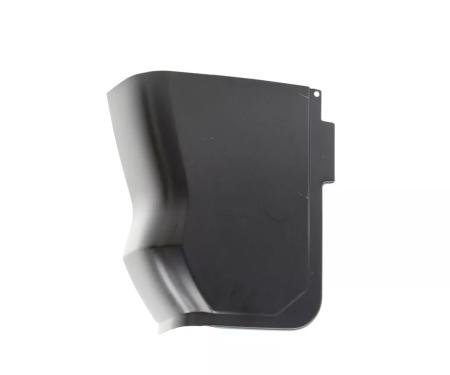
This left-hand trunk floor pan/extension is a direct-fit replacement for 1964–1970 Ford Mustang models, designed to restore structural support and protect the rear trunk area from corrosion and road damage. Built to OEM-style dimensions and gauge, the panel replaces rusted or damaged sections to re-establish factory alignment and secure mounting points for trunk components. Durable and reliable, it simplifies restoration work by providing a precise fit that reduces fabrication time and delivers long-term protection when properly installed and sealed.
Features:
- Fits 1964-1970 Ford Mustang (left-hand trunk floor pan / extension).
- Stamped steel construction to OEM gauge for strength and durability.
- Restores structural support and factory alignment in the trunk area.
- Prevents further rust and water intrusion when welded and sealed correctly.
- Designed for restoration and replacement applications to reduce fabrication time.
Installation / Application:
- Difficulty: 3/5
- Estimated time: 2-4 hours (depending on corrosion extent and welding skill)
Instructions:
- Prepare the vehicle: empty the trunk, disconnect battery, remove trunk mat, spare tire, trim, and any hardware attached to the affected area.
- Assess and mark the damaged metal: identify rusted sections and the boundaries for panel removal. Protect surrounding components and fuel lines before cutting.
- Remove the old panel: cut away the corroded metal using a grinder or cutoff tool, preserving any undamaged flange material for reference. Clean mating surfaces with a wire brush to bare metal.
- Test-fit the new panel: position the new left-hand trunk floor pan/extension and verify alignment with surrounding structure and mounting points. Trim as needed for an exact fit.
- Clamp and tack-weld: secure the panel with clamps or welding magnets, tack-weld in multiple spots to remove gaps and ensure fit. Re-check alignment before final welding.
- Finish welds and grind smooth: complete continuous welds as required, grind welds flush where necessary to restore contours and allow proper sealing.
- Protect seams and prime: apply rust-inhibiting primer to welded areas, use seam sealer on joints to prevent moisture intrusion, then paint the repaired area to match the trunk interior or underbody.
- Reassemble trunk components: reinstall hardware, trim, spare tire, and any removed items. Inspect the repair for gaps or exposed metal and touch up as needed.
- Post-installation check: allow coatings to cure per manufacturer instructions and inspect for any signs of movement or leaks after a short test drive.
Vehicle Fitment:
The Vehicle Fitment Guide is to be used as a general reference. The data has been provided by our suppliers and manufacturers and may contain errors or incorrect data. Always refer to a professional to verify correct fitment for your vehicle.
| Make |
Model |
Years |
| Ford |
Mustang |
1964 - 1970 |