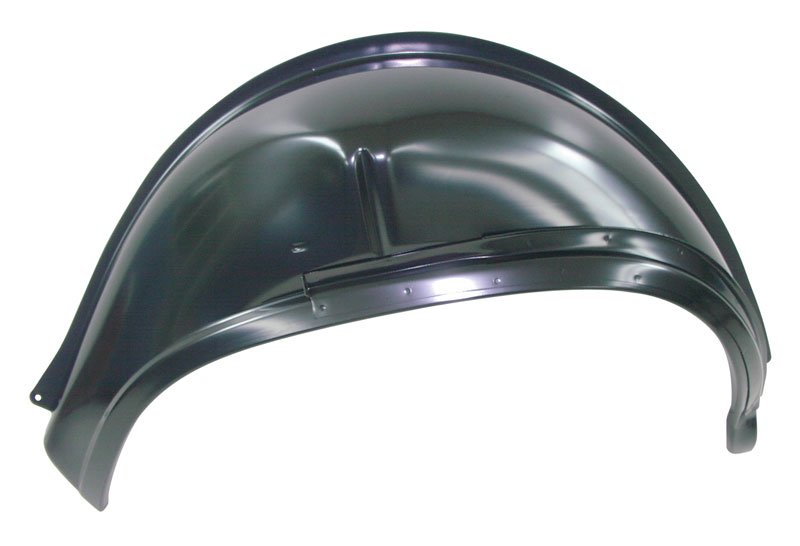
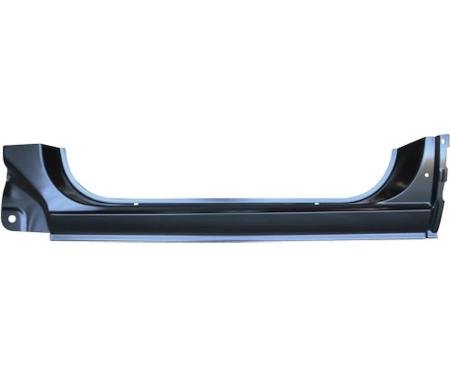
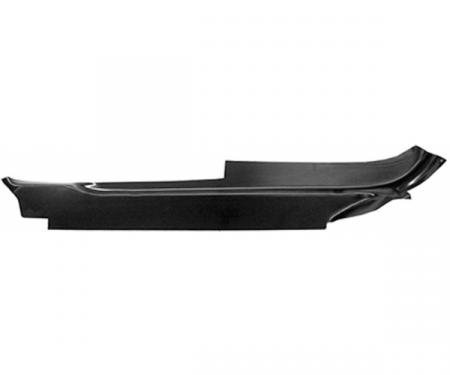
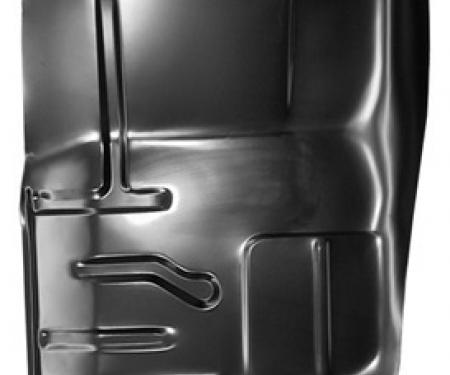
1966-1967 Chevelle / El Camino Right Hand Outer Wheelhouse designed to replace rusted, damaged, or missing right-side outer wheelwell panels. Precision-formed from heavy-gauge steel to match factory contours and mounting points, this replacement panel restores structural integrity, supports adjacent sheetmetal, and provides a corrosion-resistant base for seam sealing and paint. Ideal for classic restoration projects and collision repair, it offers a durable, reliable solution that simplifies returning your vehicle to factory appearance and function.
Features:
- Fits 1966-1967 Chevrolet Chevelle and El Camino — right-hand (passenger side) outer wheelhouse.
- Stamped from heavy-gauge steel for strength and long service life.
- Precision-formed to match factory contours and mounting points for an accurate fit.
- Replaces rusted or damaged outer wheelwell to restore structure and panel alignment.
- Prepared for welding and seam-sealing; accepts primer and paint for a finished restoration.
- Ideal for restoration and collision repair — improves durability and prevents further corrosion.
Installation / Application:
- Difficulty: 4/5
- Estimated time: 3-6 hours (depending on rust removal and welding experience)
Instructions:
- Prepare vehicle: disconnect battery, remove wheel and any trim or components obstructing the wheelhouse area.
- Inspect and mark: locate the corroded/damaged section and mark cut lines on the old panel, preserving as much good metal as possible.
- Cut out old panel: use an angle grinder to carefully remove the damaged outer wheelhouse, leaving solid attachment points where practical.
- Clean and prep seams: grind back to bare metal, remove rust, and treat with rust inhibitor; trial-fit the replacement panel to verify alignment.
- Fit and clamp: align the new outer wheelhouse panel to factory contours and mounting points; use clamps and vise-grips to hold it securely.
- Tack weld: tack weld in several locations to draw the panel tight, checking fit and gaps as you go.
- Stitch weld: complete tack welds with short stitch welds to minimize heat distortion; allow cooling between welds.
- Grind and finish welds: grind welds smooth where needed and feather edges for bodywork; address any gaps with weld or filler as appropriate.
- Seal and protect: apply seam sealer to welded joins, prime the repaired area with rust-inhibiting primer, and paint to match the vehicle.
- Reassemble: reinstall any removed components, mount the wheel, lower the vehicle, and perform a final alignment/fit check.
Vehicle Fitment:
The Vehicle Fitment Guide is to be used as a general reference. The data has been provided by our suppliers and manufacturers and may contain errors or incorrect data. Always refer to a professional to verify correct fitment for your vehicle.
| Make |
Model |
Years |
| Chevrolet |
Chevelle |
1966 - 1967 |
| Chevrolet |
Malibu |
1966 - 1967 |