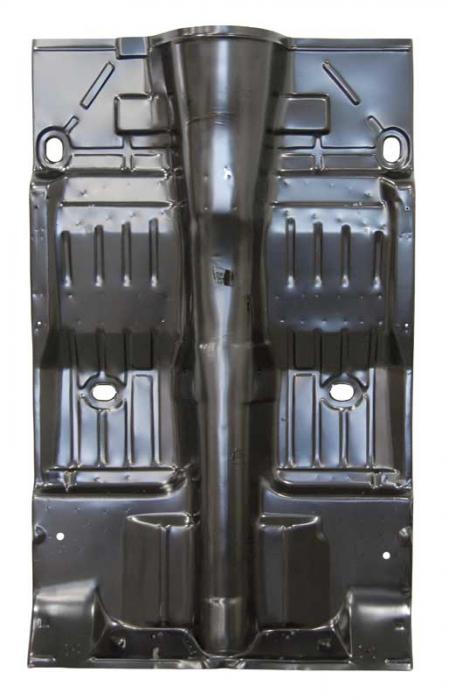
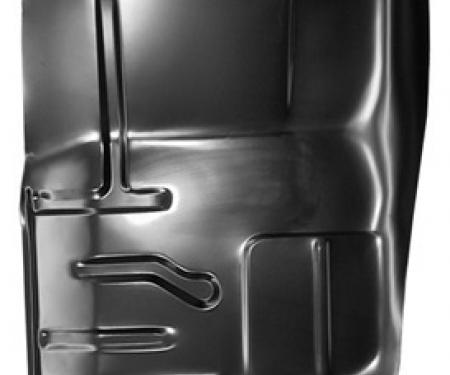
This OE-style replacement floor pan with braces is engineered for 1968-1974 Chevy II / Nova restorations and structural repairs. It restores the factory floor contours, mounting points, and rigidity while replacing rusted or damaged sections. Stamped from heavy-gauge steel and supplied with integrated braces, the panel provides durable, long-lasting structural support and correct alignment for seats, carpet, and underbody components. Finished with a corrosion-inhibiting primer, it simplifies installation and delivers a reliable foundation for complete vehicle restoration or accident repair.
Features:
- Fits 1968-1974 Chevy II / Nova models.
- OE-style stamped steel floor pan restores factory contours and mounting points.
- Includes integrated braces for added rigidity and structural support.
- Heavy-gauge steel construction for durability and long service life.
- Primed with corrosion-inhibiting coating to protect against rust.
- Designed for weld-in installation with factory-aligned fitment and pre-formed flanges.
- Ideal for full restorations, rust repair, and collision replacement applications.
Installation / Application:
- Difficulty: 4/5
- Estimated time: 6–12 hours (professional), 1–2 days (DIY restoration)
Instructions:
- Disconnect the battery and remove seats, carpet, center console, and interior trim to expose the floor pan.
- Raise and securely support the vehicle, then remove any underbody components and heat shields that obstruct access.
- Carefully cut out the rusted or damaged floor pan along factory seams using an angle grinder; retain reference points and attachment flanges when possible.
- Prepare mating surfaces by cleaning to bare metal, removing rust, and checking fitment of the new pan and braces with a dry trial fit.
- Position the new floor pan and braces, aligning factory reference points, seat mounts, and rocker edges; use clamps and welding magnets to hold in place.
- Tack-weld the pan and braces in multiple locations to verify fit and alignment; make adjustments as needed before completing welds.
- Finish-weld in short runs to minimize heat distortion, allowing cooling between passes; grind welds smooth where required.
- Apply seam sealer to all welded seams and joints, then coat the underside and inside seams with rust-inhibiting primer and paint.
- Reinstall any removed underbody components, lower the vehicle, and refit the interior trim, carpet, seats, and seat mounts.
- Perform a final inspection for secure welds, proper alignment, and sealed seams; road-test carefully and recheck fasteners.
Vehicle Fitment:
The Vehicle Fitment Guide is to be used as a general reference. The data has been provided by our suppliers and manufacturers and may contain errors or incorrect data. Always refer to a professional to verify correct fitment for your vehicle.
| Make |
Model |
Years |
| Buick |
Apollo |
1973 - 1974 |
| Chevrolet |
Chevy II |
1968 |
| Chevrolet |
Nova |
1969 - 1974 |
| Oldsmobile |
Omega |
1973 - 1974 |
| Pontiac |
Ventura |
1971 - 1974 |