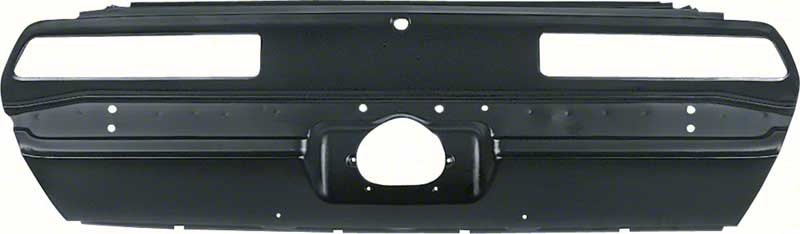
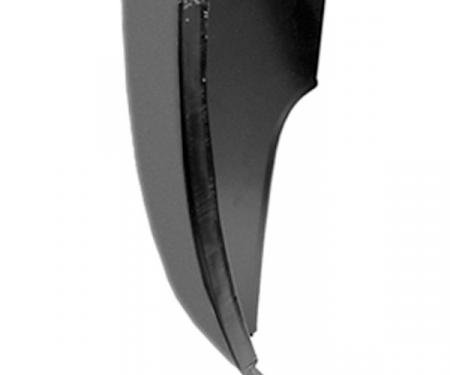
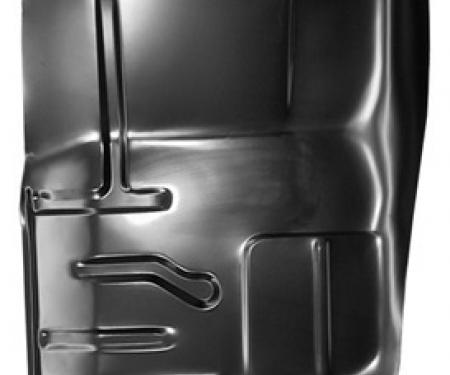
Tail panel for the 1969 Chevrolet Camaro with built-in tail lamp cut-outs and mounting brackets. This direct-fit rear panel restores proper lamp placement, body alignment, and trunk-to-bumper fit for an accurate, factory-like appearance. Constructed from stamped steel with corrosion-resistant primer, it replaces damaged or rusted original panels to improve structural support and secure tail lamp assemblies. Ideal for restoration projects or straightforward replacements, it delivers durability, reliable fitment, and simple installation using the included mounting brackets.
Features:
- Fits 1969 Chevrolet Camaro (rear tail panel replacement with tail lamp cut-outs and mounting brackets).
- Stamped steel construction with corrosion-resistant primer for long-term durability and rust protection.
- Pre-cut tail lamp openings and factory-style mounting bracket locations for accurate lamp alignment and fit.
- Included mounting brackets simplify installation and provide secure attachment points.
- Direct-fit design intended to restore original gaps and rear-end appearance during restoration or repair.
- Primed finish ready for final paint; reduces prep time and helps prevent surface corrosion.
Installation / Application:
- Difficulty: 2/5
- Estimated time: 1–2 hours
Instructions:
- Park vehicle on level ground, set parking brake, and disconnect the negative battery terminal.
- Remove rear bumper, license plate, tail lamp assemblies, and any trim that blocks access to the tail panel.
- Inspect the existing panel attachment—unbolt or cut any fasteners holding the old panel; remove corroded fasteners and clean surrounding metal.
- Clean and prepare mating surfaces, removing rust or debris; apply rust inhibitor to exposed metal as needed.
- Test-fit the new tail panel and mounting brackets to ensure alignment; make any minor adjustments before final fastening.
- Attach the mounting brackets to the new panel (if not pre-installed), then position the panel on the vehicle and hand-tighten fasteners to hold it in place.
- Use panel clamps or an assistant to align gaps and panel fitment; tighten bolts to specification with a torque wrench.
- Reinstall tail lamp assemblies, reconnect wiring, and verify lamp operation with an electrical tester.
- Apply seam sealer to exposed joints and touch up primer or paint as required for corrosion protection and final finish.
- Reinstall the rear bumper, license plate, and any trim pieces; reconnect the battery and perform a final inspection of fit and lighting.
Vehicle Fitment:
The Vehicle Fitment Guide is to be used as a general reference. The data has been provided by our suppliers and manufacturers and may contain errors or incorrect data. Always refer to a professional to verify correct fitment for your vehicle.
| Make |
Model |
Years |
| Chevrolet |
Camaro |
1969 |