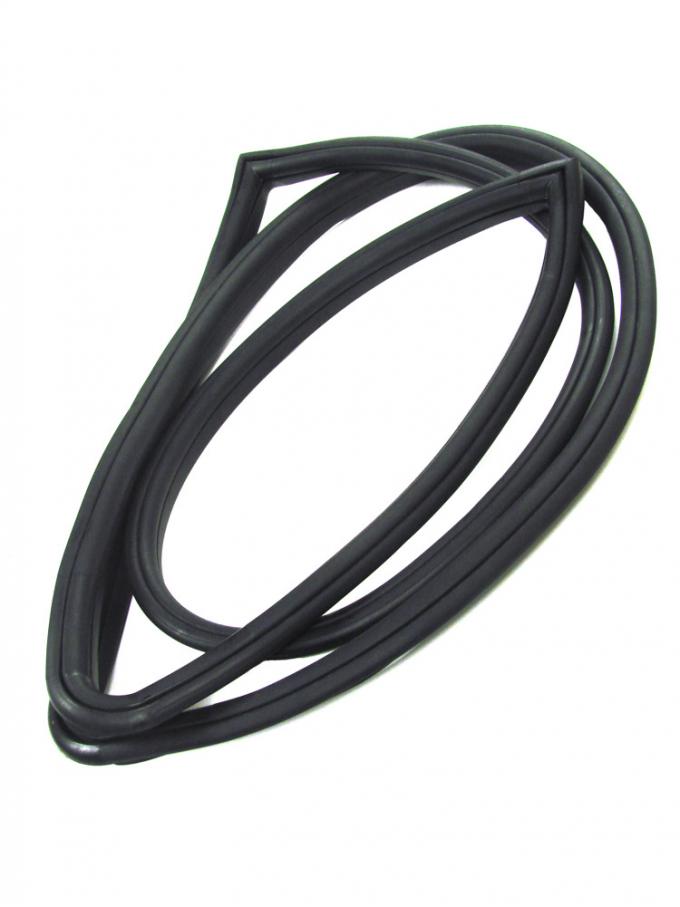
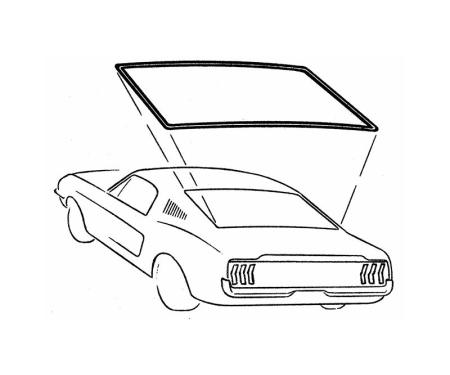
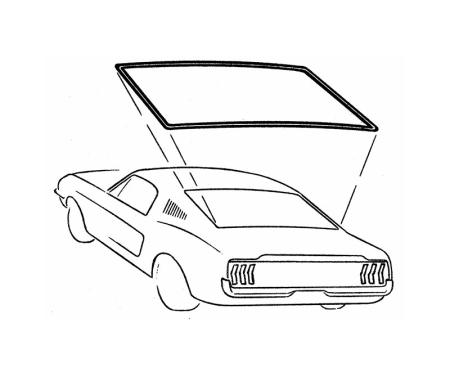
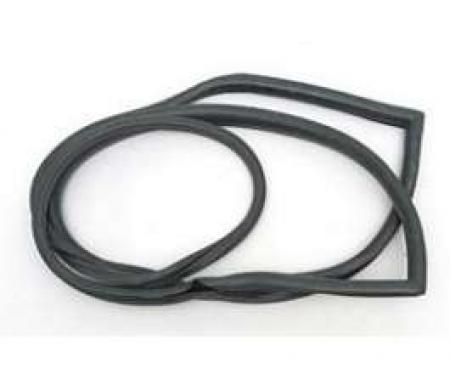
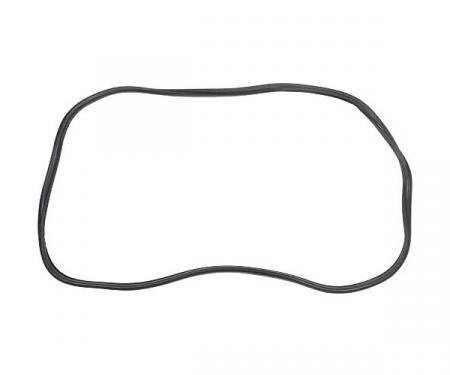
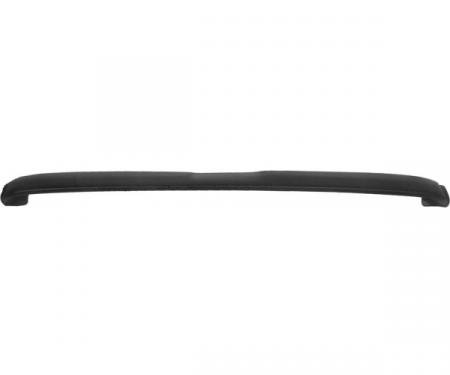
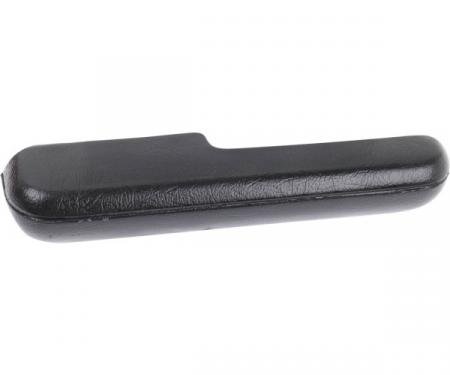
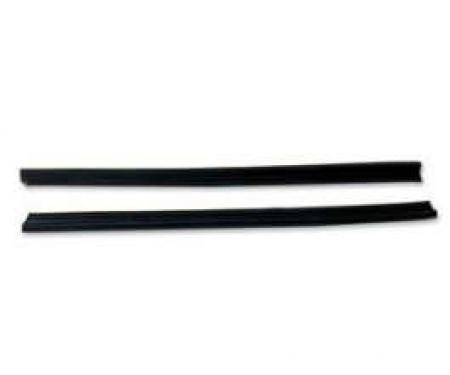
Precision 2Dr Hardtop Models - Rear Window Weatherstrip Seal, With Trim Groove for Steel Trim WCR DB3198
- Fits many 2‑door hardtop models with steel rear window trim—verify fitment for your year, make, and model (WCR DB3198).
- Integrated trim groove secures steel exterior molding for a factory appearance.
- Durable EPDM-style rubber resists UV, ozone and temperature-related deterioration.
- Seals rear glass to body to prevent leaks, reduce wind noise, and limit vibration.
- Direct-replacement design made for restoration and maintenance applications.
- Compressible profile ensures a snug, long-lasting fit when installed correctly.
- Easy to install with common trim tools; can be used with adhesive where required.
- Difficulty: 2/5
- Estimated time: 60 minutes
- trim removal tool or plastic pry tool
- flat-blade screwdriver (protected/taped)
- rubber mallet or dead-blow hammer
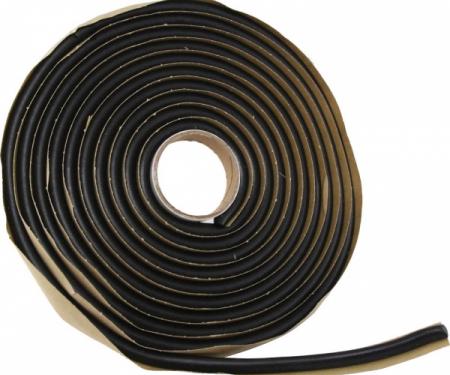
- weatherstrip adhesive (if required)
- isopropyl alcohol or degreaser and clean rags
- utility knife or scissors
- painter's tape or masking tape
- Work in a dry, shaded area. Carefully remove the old rear window trim and weatherstrip using a trim tool to avoid damaging the glass or body.
- Peel out the old weatherstrip and remove any old adhesive or residue. Clean the channel and surrounding metal thoroughly with isopropyl alcohol or a suitable degreaser; allow to dry.
- Test-fit the new weatherstrip (WCR DB3198) into the channel and ensure the trim groove lines up with the steel molding. Trim excess material if necessary for a proper fit.
- If the vehicle application calls for adhesive, apply a thin, even bead of weatherstrip adhesive into the cleaned channel following the adhesive manufacturer’s instructions.
- Starting at one side, press the new weatherstrip into the channel, engaging the flange fully. Use your hands to seat the seal, then tap gently with a rubber mallet (use a block of wood or a soft cloth over the mallet to avoid marring).
- Slide or press the steel trim into the weatherstrip’s groove so the molding is fully engaged and aligned. Work around the entire opening, ensuring consistent compression and alignment.
- Use painter’s tape to hold the seal and trim in place while any adhesive cures (if used). Reinstall any interior trim pieces removed earlier.
- Inspect the installation for gaps, uneven areas, or pinched sections. Perform a water test (hose or light spray) to confirm a leak-free seal and make any minor adjustments as needed.
Since 1986 Precision Replacement Parts has been a trusted name in the Automotive Glass Industry.
Our knowledge and experience in manufacturing millions of extruded and molded EPDM Rubber, PVC and HDPE based plastics, and various stamped and extruded metal products for the classic and late model industries has allowed Precision to expand our services into multiple product markets.
Along with our own USA based production facility, Precision also partners with 25 different manufactures worldwide with a reputation as a global leader supplying OEM and replacement products to a number of different industries. Our partnerships along with our own in-house manufacturing and fabrication capability gives Precision a unique position in helping to meet the expanding needs of customers everywhere, providing them with a sustained competitive advantage.

Vehicle Fitment:
| Make | Model | Years | Fitment Notes |
| Ford | Falcon | 1963 - 1965 | Coupe 2 door |
| Mercury | Comet | 1963 - 1965 | Hardtop |
Specifications:
| Part Type | Back Glass Seal |
| Proposition 65 | www.P65Warnings.ca.gov |
| Warranty | Lifetime on Defects TX |

