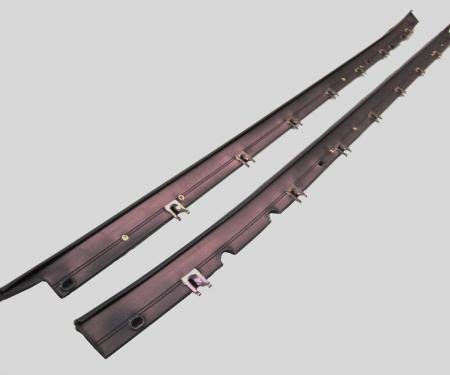
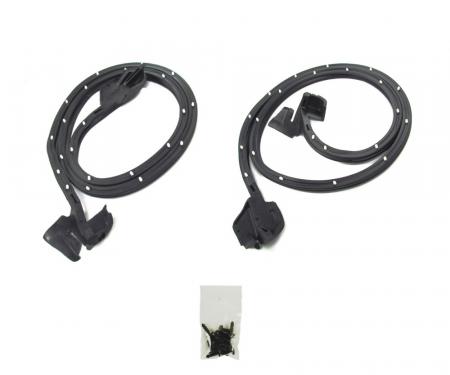
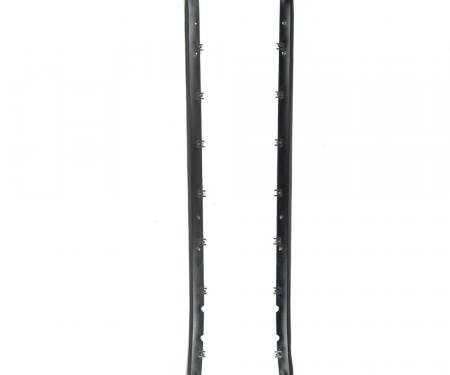
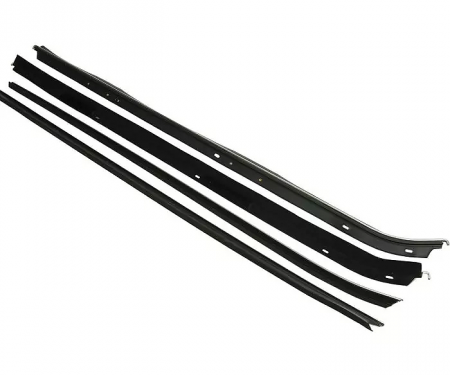
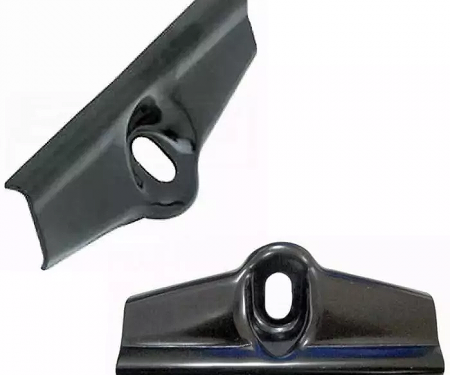
Precision Beltline Molding Kit, Black, Inner/Outer, Left and Right Hand, 4 Piece Kit WFK 1110 67 A
- 4-piece kit includes inner and outer left- and right-hand beltline moldings in black
- Durable, UV-resistant black finish resists fading, cracking and weathering
- Restores factory appearance while protecting paint and glass edges from wear
- Precision-matched profile for consistent sealing and reduced wind noise
- Easy replacement for restoration or maintenance—no painting required
- Difficulty: 2/5
- Estimated time: 30-60 minutes
- Trim removal tool or flat screwdriver (wrapped to protect finish)
- Clean microfiber cloth
- Isopropyl alcohol or mild cleaner
- Adhesive promoter or double-sided automotive tape (if required)
- Masking tape
- Prepare the work area: park the vehicle on level ground and roll windows fully down to access beltline channels.
- Remove old molding: carefully pry out existing moldings using a trim tool, working slowly to avoid scratching the paint or glass. Remove any old clips or adhesive residue.
- Clean and dry: wipe the exposed beltline and channel with isopropyl alcohol or a mild cleaner to remove grease, wax and debris. Allow to dry completely.
- Test-fit new pieces: lay each new molding in place without fastening to confirm orientation (inner vs. outer, left vs. right) and fitment.
- Apply adhesive or clips: if the molding uses clips, align and engage clips into the door channel. If adhesive or tape is required, apply adhesive promoter per product directions and attach double-sided automotive tape to the molding backing.
- Install molding: starting at one end, press the molding firmly into the channel along its full length. Use even pressure and temporary masking tape to hold pieces in place while any adhesive cures.
- Final check: verify that moldings are seated evenly, windows operate freely, and there are no gaps. Clean surrounding surfaces and allow any adhesive to cure per manufacturer's recommendations.
Since 1986 Precision Replacement Parts has been a trusted name in the Automotive Glass Industry.
Our knowledge and experience in manufacturing millions of extruded and molded EPDM Rubber, PVC and HDPE based plastics, and various stamped and extruded metal products for the classic and late model industries has allowed Precision to expand our services into multiple product markets.
Along with our own USA based production facility, Precision also partners with 25 different manufactures worldwide with a reputation as a global leader supplying OEM and replacement products to a number of different industries. Our partnerships along with our own in-house manufacturing and fabrication capability gives Precision a unique position in helping to meet the expanding needs of customers everywhere, providing them with a sustained competitive advantage.

Vehicle Fitment:
| Make | Model | Years |
| Chevrolet | Blazer | 1969 - 1972 |
| Chevrolet | C10 Pickup | 1967 - 1972 |
| Chevrolet | C10 Suburban | 1967 - 1972 |
| Chevrolet | C20 Pickup | 1967 - 1972 |
| Chevrolet | C20 Suburban | 1967 - 1972 |
| Chevrolet | C30 Pickup | 1967 - 1972 |
| Chevrolet | C50 | 1967 - 1972 |
| Chevrolet | K10 Pickup | 1967 - 1972 |
| Chevrolet | K10 Suburban | 1967 - 1972 |
| Chevrolet | K20 Pickup | 1967 - 1972 |
| Chevrolet | K20 Suburban | 1967 - 1972 |
| GMC | C15/C1500 Pickup | 1967 - 1972 |
| GMC | C15/C1500 Suburban | 1968 - 1972 |
| GMC | C25/C2500 Pickup | 1967 - 1972 |
| GMC | C25/C2500 Suburban | 1968 - 1972 |
| GMC | C35/C3500 Pickup | 1967 - 1972 |
| GMC | Jimmy | 1970 - 1972 |
| GMC | K15/K1500 Pickup | 1967 - 1972 |
| GMC | K15/K1500 Suburban | 1967 - 1972 |
| GMC | K25/K2500 Pickup | 1967 - 1972 |
| GMC | K25/K2500 Suburban | 1968 - 1972 |
| GMC | K35/K3500 Pickup | 1968 - 1972 |
Specifications:
| Part Type | Door Window Belt Weatherstrip |
| Proposition 65 | www.P65Warnings.ca.gov |
| Warranty | Lifetime on Defects TX |


