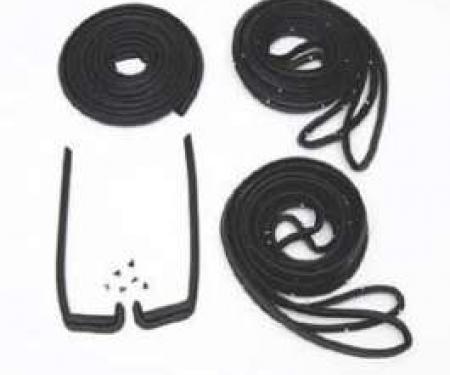
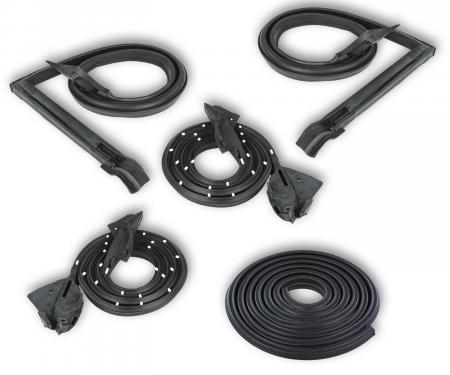
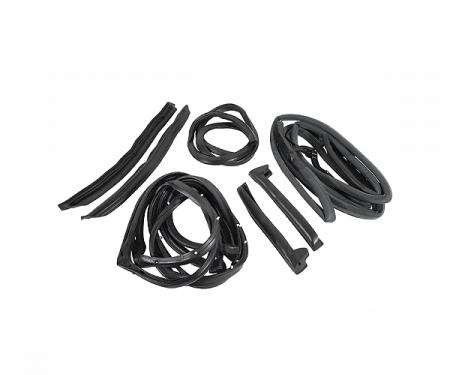
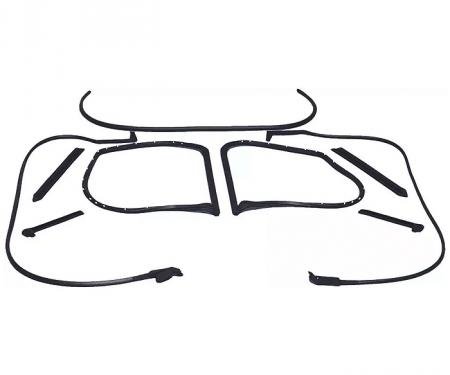
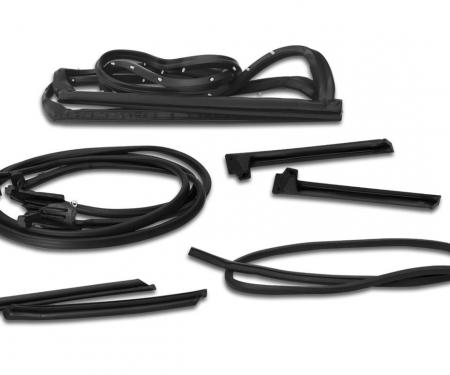
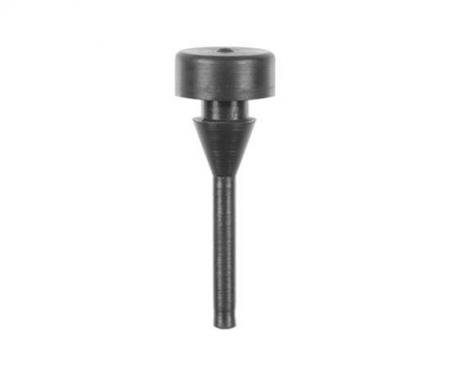
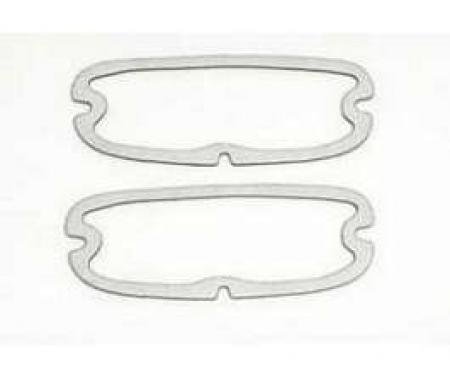
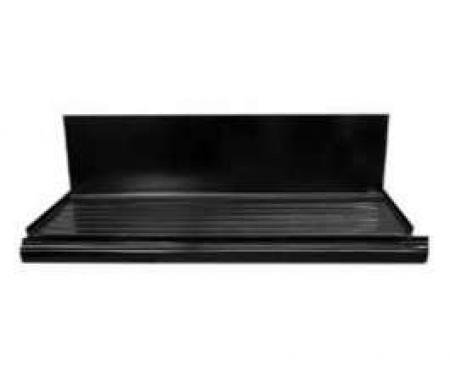
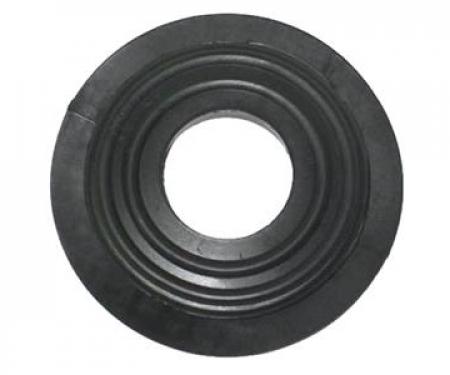
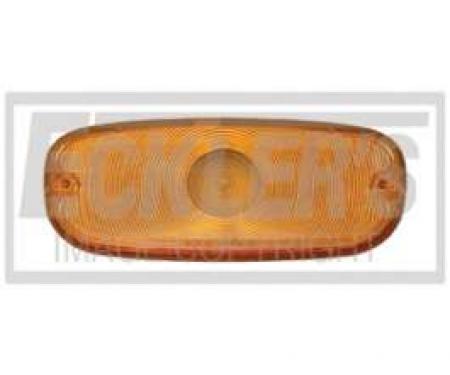
Precision Complete Weatherstrip Seal Kit - 2nd Series Models Without Weatherstrip Trim Grove. CWK 1110 55
- Fits 2nd Series models without weatherstrip trim groove (verify specific year/make/model fitment before purchase).
- High-quality weather-resistant rubber (EPDM-style compound) for long-lasting durability and UV/ozone resistance.
- Seals doors and openings to prevent water leaks, drafts, and road noise.
- Complete kit replaces primary exterior seals to restore factory fit and function.
- Flexible sections are easy to trim and shape for precise installation.
- Resists cracking, shrinking, and deformation for reliable long-term performance.
- Difficulty: 2/5
- Estimated time: 60-120 minutes
- Isopropyl alcohol or solvent cleaner
- Clean rags
- Weatherstrip adhesive (contact cement or recommended glue)
- Utility knife or heavy-duty scissors
- Plastic trim removal tool or pick
- Masking tape
- Measuring tape
- Heat gun or hair dryer (optional, for cold weather)
- Gloves
- Park vehicle on a level surface and open the door(s) to be serviced. Work in a well-ventilated area.
- Remove the old weatherstrip by pulling gently and using a plastic trim tool or pick to free any stuck sections. Cut out stubborn glued areas with a utility knife, taking care not to damage the mounting flange.
- Clean the mounting surfaces thoroughly with isopropyl alcohol or an appropriate solvent to remove adhesive residue, dirt, and oil. Allow surface to dry completely.
- Lay out new seal sections and dry-fit each piece to confirm orientation, length, and where trimming will be required. Use masking tape to hold sections in place during trial fitting.
- Trim seal ends as needed for a snug, tight butt joint or overlap per the vehicle’s original style. Use a heat gun briefly on cold days to make the rubber more pliable for shaping.
- Apply a thin, even bead of weatherstrip adhesive to the mounting flange or to both mating surfaces if the adhesive manufacturer recommends contact application. Allow adhesive to become tacky per instructions.
- Press the new weatherstrip firmly onto the mounting flange, aligning as you go. Work in short sections and apply even pressure to ensure full contact. Use masking tape to hold the seal in place while adhesive cures if necessary.
- Finish by compressing joints and ends to ensure a continuous seal. Wipe away any excess adhesive promptly with solvent and a rag.
- Allow adhesive to cure fully per the adhesive manufacturer’s recommended time before closing doors or driving the vehicle.
- Test door operation and inspect for gaps or leaks. Make minor adjustments or add small adhesive spots to secure any loose areas.
Since 1986 Precision Replacement Parts has been a trusted name in the Automotive Glass Industry.
Our knowledge and experience in manufacturing millions of extruded and molded EPDM Rubber, PVC and HDPE based plastics, and various stamped and extruded metal products for the classic and late model industries has allowed Precision to expand our services into multiple product markets.
Along with our own USA based production facility, Precision also partners with 25 different manufactures worldwide with a reputation as a global leader supplying OEM and replacement products to a number of different industries. Our partnerships along with our own in-house manufacturing and fabrication capability gives Precision a unique position in helping to meet the expanding needs of customers everywhere, providing them with a sustained competitive advantage.

Vehicle Fitment:
| Make | Model | Years |
| Chevrolet | 3100 | 1959 |
| Chevrolet | 3B | 1959 |
| Chevrolet | 3C | 1959 |
| Chevrolet | 3D | 1959 |
| Chevrolet | 3E | 1959 |
| Chevrolet | 3F | 1959 |
| Chevrolet | 3G | 1959 |
| Chevrolet | Truck | 1955 - 1958 |
| GMC | Truck | 1955 - 1959 |
Specifications:
| Part Type | Vehicle Weatherstrip Kit |
| Proposition 65 | www.P65Warnings.ca.gov |
| Warranty | Lifetime on Defects TX |


