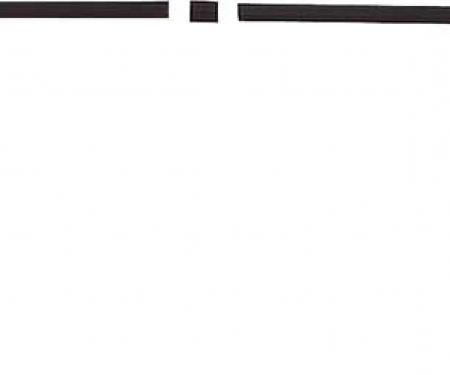
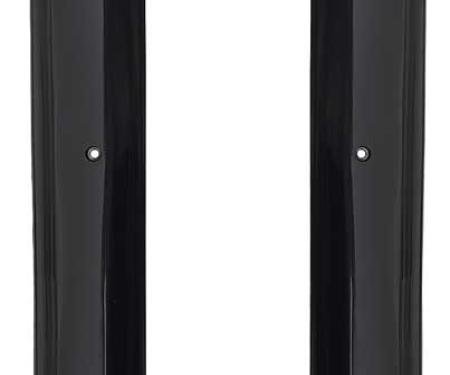
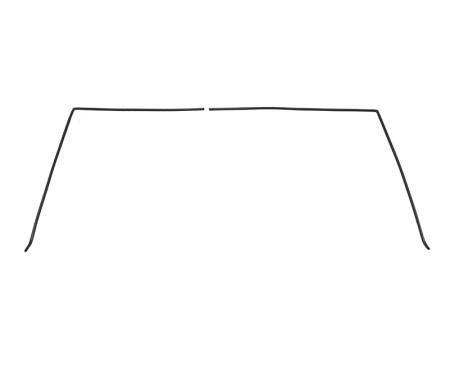
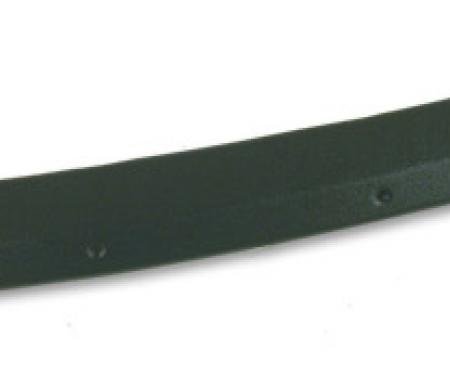
This windshield side molding kit is a direct-fit replacement specifically made for 2011–2019 Ford Explorer police vehicles with the left-hand (LH) cut-out for emergency equipment. It secures and seals the windshield edge, protects the glass and body flange from moisture and road debris, and restores a factory-alike appearance. Built to withstand duty‑cycle use, the molding resists UV, road chemicals, and temperature changes while providing reliable alignment and a neat finish. Ideal for fleet restoration, repairs after windshield service, or preventive maintenance to maintain weatherproofing and officer safety.
Features:
- Fits 2011–2019 Ford Explorer police vehicles — left-hand (LH) windshield side molding with cut-out for emergency equipment.
- OEM-fit replacement design restores factory alignment and appearance.
- Durable, weather-resistant material resists UV, road chemicals, and temperature changes.
- Seals windshield edge to prevent water intrusion and reduce wind noise.
- Easy installation with clip/adhesive retention — suitable for fleet service and maintenance.
- Designed for restoration and replacement following windshield removal or damage.
Installation / Application:
- Difficulty: 2/5
- Estimated time: 30-60 minutes
Instructions:
- Park vehicle on a level surface, set the parking brake, and disconnect the negative battery cable if removing nearby trim or electrical connectors.
- Carefully remove any adjoining trim, weatherstripping, or windshield trim clips that obstruct the molding using a plastic trim tool to avoid paint damage.
- Gently pry off the old molding, releasing the retaining clips or trimming away adhesive. Take care around the windshield and painted surfaces.
- Clean the windshield flange and molding mating surface thoroughly with isopropyl alcohol to remove old adhesive, wax, and dirt. Allow to dry.
- Test-fit the new LH molding to ensure the cut-out lines up with emergency equipment openings and the molding seats correctly along the windshield edge.
- If adhesive is required, apply adhesive promoter to the flange per product instructions, then apply the specified double-sided tape or urethane adhesive to the molding.
- Align the molding starting from one end and press firmly along the entire length so clips engage and adhesive bonds. Ensure the cut-out aligns with the equipment opening.
- Reinstall any trim pieces and weatherstripping removed earlier. Check for gaps, proper seating, and a continuous seal along the windshield edge.
- Allow any adhesive to cure per manufacturer recommendations (typically 1–24 hours) before exposing to heavy washing or extreme driving conditions.
- Perform a water test (gentle hose) to confirm there are no leaks and verify trim retention after adhesive cures.
About Precision Replacement Parts
Since 1986 Precision Replacement Parts has been a trusted name in the Automotive Glass Industry.
Our knowledge and experience in manufacturing millions of extruded and molded EPDM Rubber, PVC and HDPE based plastics, and various stamped and extruded metal products for the classic and late model industries has allowed Precision to expand our services into multiple product markets.
Along with our own USA based production facility, Precision also partners with 25 different manufactures worldwide with a reputation as a global leader supplying OEM and replacement products to a number of different industries. Our partnerships along with our own in-house manufacturing and fabrication capability gives Precision a unique position in helping to meet the expanding needs of customers everywhere, providing them with a sustained competitive advantage.

Vehicle Fitment:
The Vehicle Fitment Guide is to be used as a general reference. The data has been provided by our suppliers and manufacturers and may contain errors or incorrect data. Always refer to a professional to verify correct fitment for your vehicle.
| Make |
Model |
Years |
Fitment Notes |
| Ford |
Explorer |
2011 - 2019 |
Sport Utility |