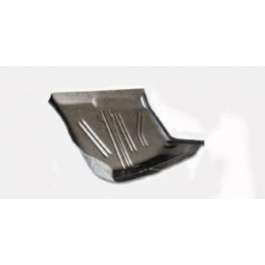
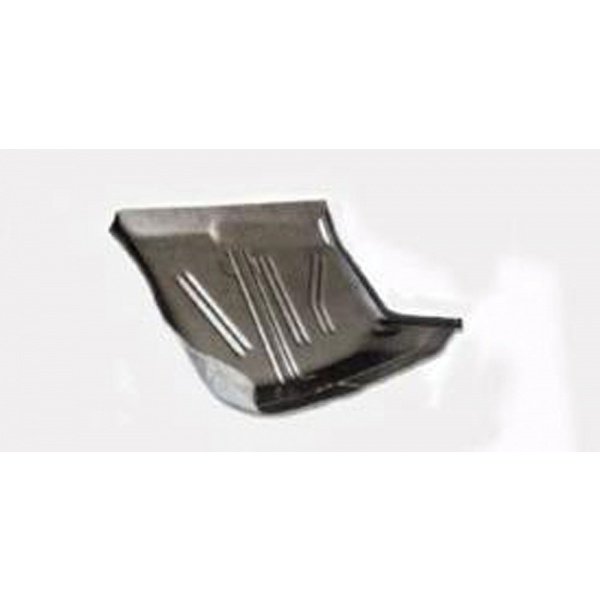
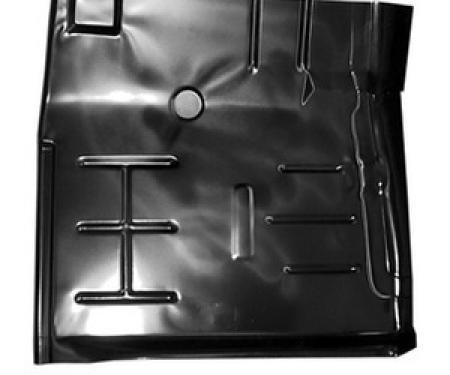
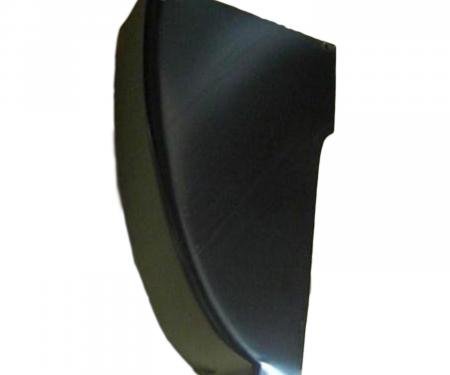
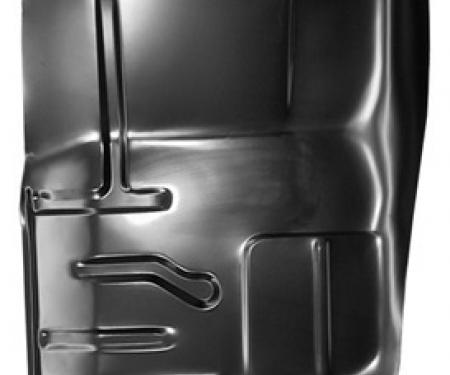
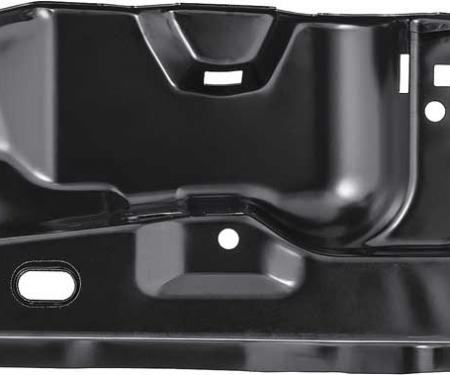
A right-hand toe board patch panel designed for 1964-1967 GM A-Body vehicles (Chevelle, Malibu, GTO, Cutlass, Skylark). This 30" x 15" replacement section includes part of the transmission hump to restore structural integrity, floor alignment, and under-dash support where corrosion or collision damage has compromised the original metal. Manufactured from heavy-gauge formed steel with OE-style contours, it provides a durable, corrosion-resistant repair solution that simplifies welding, fitting, and finishing during a restoration or rust-repair project.
Features:
- Fits 1964-1967 GM A-Body cars (Chevelle, Malibu, GTO, Cutlass, Skylark) — right-hand toe board.
- Measures 30" x 15" and includes a portion of the transmission hump for accurate restoration.
- Stamped heavy-gauge steel with OE-style contours for proper fit and structural support.
- Restores floor strength and dash-to-floor alignment while replacing rusted or damaged metal.
- Pre-formed edges and weld locations make trimming, clamping, and welding straightforward.
- Durable surface finish inhibits flash rust during installation; ready for seam sealer and paint.
Installation / Application:
- Difficulty: 3/5
- Estimated time: 1-3 hours (varies with preparation and welding experience)
Instructions:
- Inspect the existing toe board and transmission hump area; mark the extent of rust/damaged metal to be removed.
- Test-fit the patch panel in place to verify orientation and access to weld points; trim panel as needed for a snug fit.
- Remove the damaged metal using an angle grinder and spot-weld cutter; clean surrounding metal back to solid steel.
- Prep mating surfaces by cleaning, removing rust/paint, and degreasing to ensure good weld penetration.
- Clamp the patch panel into position and tack-weld at several points to hold alignment; re-check fitment and gaps.
- Complete welding using short stitch welds or plug welds to minimize warping; allow cooling between welds.
- Grind welds smooth and blend edges as required; use a hammer/dolly to correct any distortion.
- Apply rust inhibitor/primer to bare metal and weld areas, seam-seal seams, then prime and topcoat to match the interior floor.
- Install undercoating on the underside and reinstall any removed components. Inspect welds and seals for completeness.
- Note: If you are not experienced with structural welding or floor repairs, consult a professional to ensure safety and fitment.
Vehicle Fitment:
The Vehicle Fitment Guide is to be used as a general reference. The data has been provided by our suppliers and manufacturers and may contain errors or incorrect data. Always refer to a professional to verify correct fitment for your vehicle.
| Make |
Model |
Years |
| Chevrolet |
Chevelle |
1964 - 1972 |
| Chevrolet |
Estate |
1969 - 1970 |
| Chevrolet |
Malibu |
1964 - 1967 |