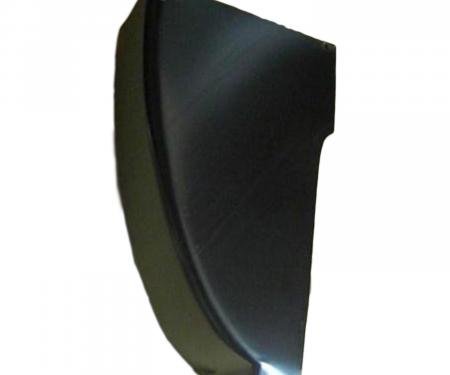
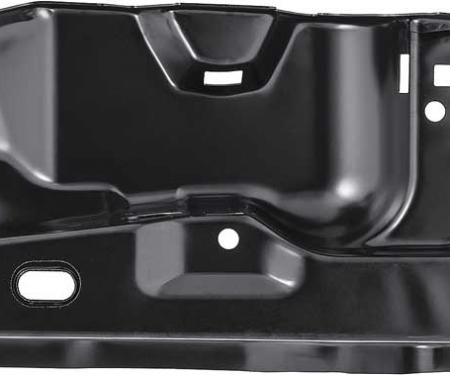
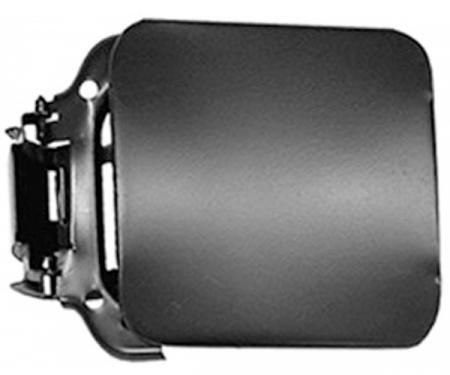
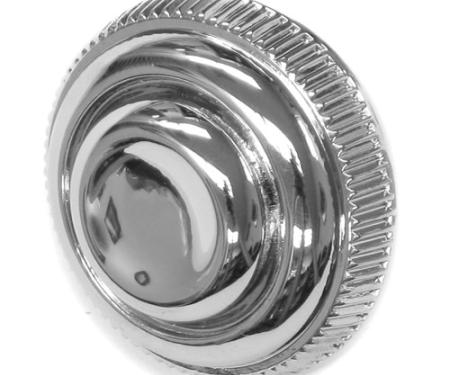
Complete dash panel assembly designed specifically for 1970–1972 Chevrolet Chevelle SS models. This direct-fit replacement restores the factory dashboard structure and appearance while providing secure mounting for gauges, heater/vent controls and the three factory-style vents. Precision-formed construction with a corrosion-resistant finish and OEM-style openings ensures long-lasting durability and dependable fitment during restorations. Pre-cut openings and factory-aligned mounting points reduce install time and help deliver an authentic, finished cabin look with reliable performance and ease of use.
Features:
- Fits 1970-1972 Chevrolet Chevelle SS (SS models only).
- Precision-formed construction with corrosion-resistant finish for long life.
- Includes three factory-style vent openings and mounting locations.
- Restores original dash alignment and supports gauges, controls, and vents.
- Pre-cut openings and factory-aligned mounting holes for straightforward installation.
- Direct bolt-in replacement designed for restoration and value retention.
- Reduces vibration and maintains authentic interior appearance.
Installation / Application:
- Difficulty: 3/5
- Estimated time: 2-4 hours
Instructions:
- Disconnect the negative battery cable to prevent electrical shorts.
- Remove lower kick panels, glove box, and any surrounding trim pieces using trim tools and screwdrivers.
- Remove the instrument cluster bezel and instrument cluster; disconnect wiring harnesses and label connections for reassembly.
- Disconnect heater/AC controls, ducting, and associated vent hoses from the back of the dash.
- Remove steering column intermediate brackets if required for panel clearance (support the column as needed).
- Unbolt and remove the old dash panel assembly, keeping track of mounting hardware and shims.
- Test-fit the new dash panel into position to verify alignment and ensure all openings and mounting points line up.
- Transfer vents, duct adapters, brackets, and any electronics or wiring from the old dash to the new panel as needed.
- Bolt the new dash panel into place using original or supplied mounting hardware; tighten to factory torque where specified.
- Reconnect heater/AC ducting, controls, instrument cluster harnesses, and reinstall the cluster and bezels.
- Reinstall trim pieces, glove box, and lower kick panels. Reconnect the negative battery cable.
- Start the vehicle (or ignition on) and verify that gauges, lights, and vents function properly; check for proper fit and final finish.
Vehicle Fitment:
The Vehicle Fitment Guide is to be used as a general reference. The data has been provided by our suppliers and manufacturers and may contain errors or incorrect data. Always refer to a professional to verify correct fitment for your vehicle.
| Make |
Model |
Years |
| Chevrolet |
Chevelle |
1970 - 1972 |
| Chevrolet |
El Camino |
1970 - 1972 |
| Chevrolet |
Monte Carlo |
1970 - 1972 |
| Oldsmobile |
Cutlass |
1973 - 1977 |
| Pontiac |
GTO |
1973 |
| Pontiac |
Grand Prix |
1973 - 1977 |
| Pontiac |
LeMans |
1973 - 1974 |