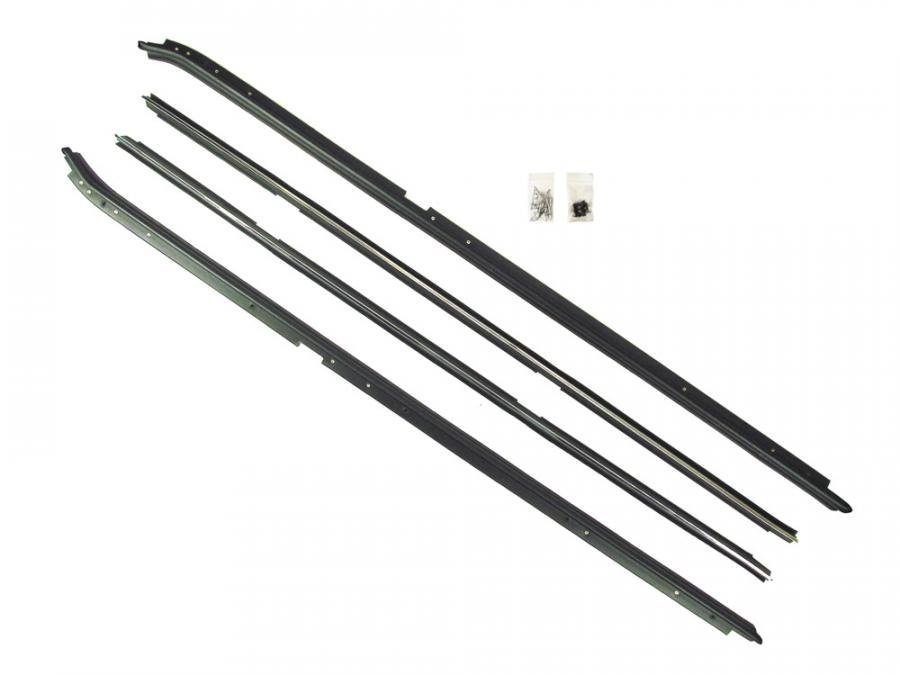
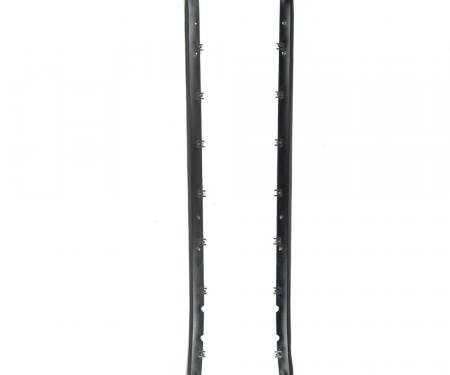
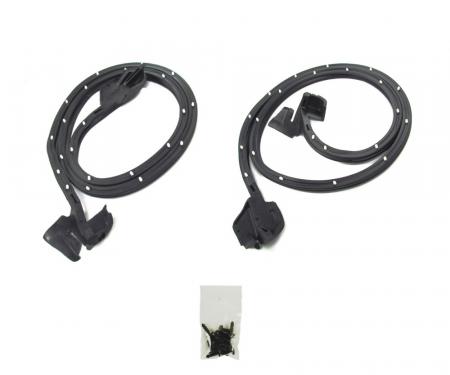
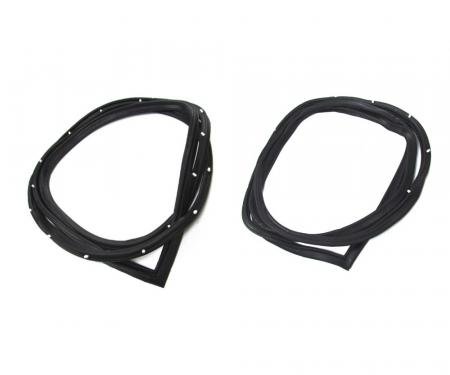
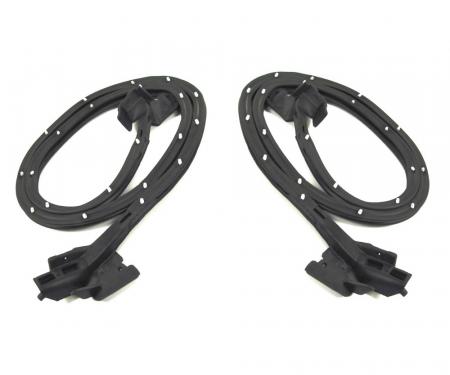
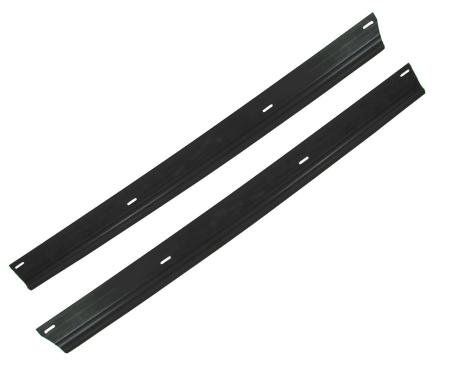
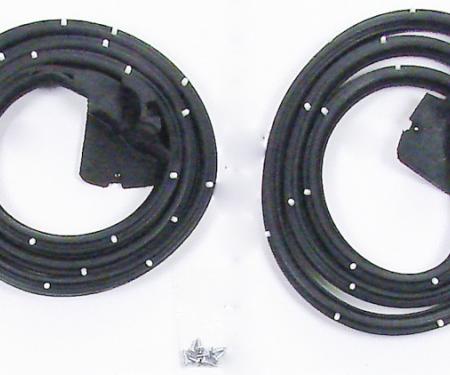
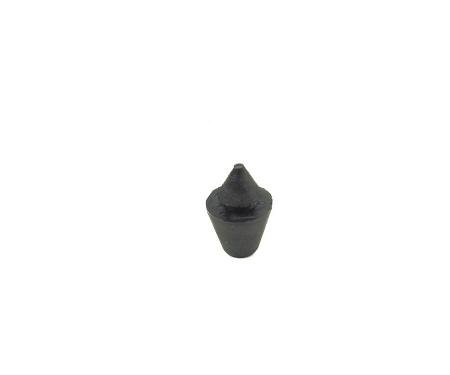
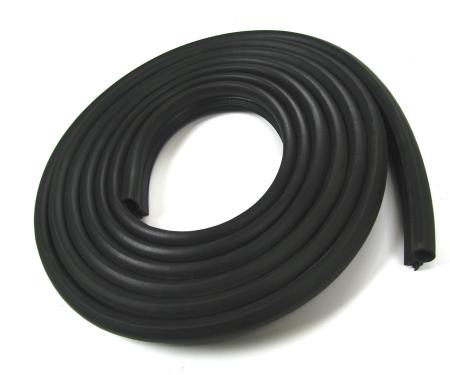
This 24-piece Precision Beltline Molding Kit (WFK 1411 82) provides complete left- and right-hand inner and outer beltline trim to restore and protect the vehicle’s window beltline. Each molding is engineered to secure exterior trim, prevent moisture intrusion, reduce wind noise, and return a factory-fresh appearance. Made from corrosion-resistant components with an OEM-style profile, the kit is ideal for restoration, repair, or replacement projects. Designed as direct-fit replacements for compatible applications — verify fitment before purchase — the set offers durable, reliable performance and straightforward installation for most DIY technicians and professional shops.
Features:
- 24-piece kit includes left and right, inner and outer beltline moldings to cover a full vehicle set.
- Corrosion-resistant construction preserves appearance and resists road salt, moisture, and UV exposure.
- OEM-style profile ensures proper alignment and a factory look when replacing worn or damaged trim.
- Helps prevent water intrusion and reduces wind noise while securing window and door trim.
- Straightforward installation with pre-formed pieces — ideal for restoration, maintenance, or collision repair.
Installation / Application:
- Difficulty: 2/5
- Estimated time: 60-120 minutes
Instructions:
- Park the vehicle on a level surface, disconnect the battery if working near powered components, and lower windows slightly if necessary.
- Carefully remove the old beltline molding using a plastic trim tool to pry away clips or fasteners; keep any reusable clips and note clip locations.
- Clean the mounting surface thoroughly with isopropyl alcohol to remove dirt, wax, and old adhesive to ensure good adhesion and fit.
- Test-fit each new molding piece to confirm correct orientation and fitment; use masking tape to temporarily hold pieces in place while aligning.
- If clips are used, press the new molding onto the mounting flange until each clip audibly seats; if adhesive is required, apply a thin, even bead of recommended trim adhesive to the back of the molding and press into place.
- Gently tap along the molding with a soft-faced hammer or rubber mallet to ensure full contact and alignment, and reinstall any screws or retainers removed earlier.
- Wipe away any excess adhesive immediately with a clean cloth, allow adhesive to cure per manufacturer directions (if used), and reassemble any interior trim or components.
- Inspect the installed moldings for uniform gaps and secure fit; road-test at low speed to confirm no wind noise or movement.
About Precision Replacement Parts
Since 1986 Precision Replacement Parts has been a trusted name in the Automotive Glass Industry.
Our knowledge and experience in manufacturing millions of extruded and molded EPDM Rubber, PVC and HDPE based plastics, and various stamped and extruded metal products for the classic and late model industries has allowed Precision to expand our services into multiple product markets.
Along with our own USA based production facility, Precision also partners with 25 different manufactures worldwide with a reputation as a global leader supplying OEM and replacement products to a number of different industries. Our partnerships along with our own in-house manufacturing and fabrication capability gives Precision a unique position in helping to meet the expanding needs of customers everywhere, providing them with a sustained competitive advantage.

Vehicle Fitment:
The Vehicle Fitment Guide is to be used as a general reference. The data has been provided by our suppliers and manufacturers and may contain errors or incorrect data. Always refer to a professional to verify correct fitment for your vehicle.
| Make |
Model |
Submodel |
Years |
| Buick |
Regal |
GNX |
1987 |
| Buick |
Regal |
Grand National |
1984 - 1987 |
| Buick |
Regal |
T-Type |
1984 - 1986 |
| Buick |
Regal |
|
1981 - 1987 |
| Oldsmobile |
Cutlass Salon |
|
1985 - 1987 |
| Oldsmobile |
Cutlass Supreme |
|
1981 - 1988 |