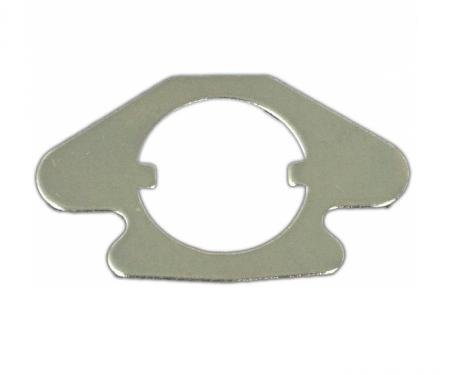
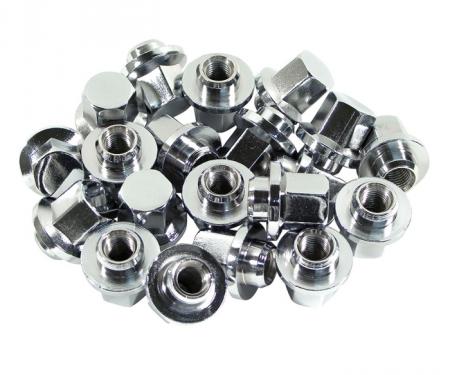
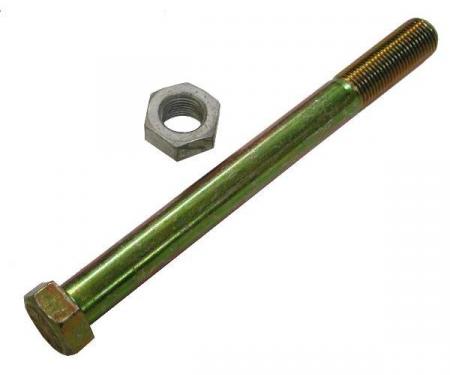
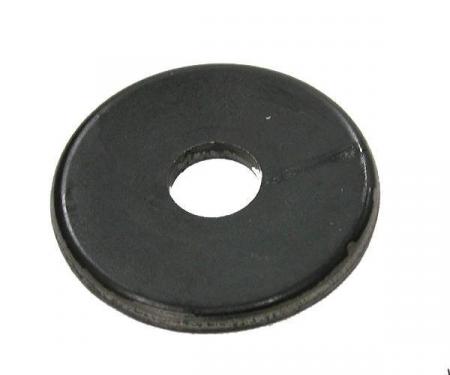
A two-piece rear spring mount and slotted castle nut set designed for 1963-1982 Chevrolet Corvette rear suspension. This assembly secures the lower ball joint and rear spring mount, restoring proper alignment and improving safety. Manufactured from high-strength steel with a corrosion-resistant finish, the kit provides reliable, long-lasting performance and straightforward installation for restorations or maintenance projects.
Features:
- Fits 1963-1982 Chevrolet Corvette rear suspension (rear spring mount / lower ball joint).
- Two-piece rear spring mount design for accurate OEM-style fitment and easier assembly.
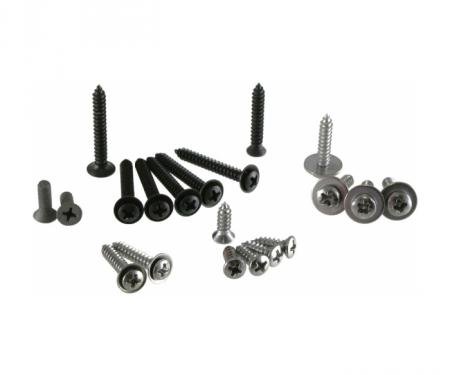
- Slotted castle nut set allows cotter-pin retention to prevent loosening under load.
- High-strength steel construction with a corrosion-resistant finish for durability.
- Restoration-grade replacement that restores proper alignment and suspension safety.
- Simple swap-in replacement for worn or damaged mounts and fasteners.
Installation / Application:
- Difficulty: 3/5
- Estimated time: 1-2 hours
Instructions:
- Park on a level surface, chock front wheels, and loosen rear lug nuts slightly.
- Raise the rear of the vehicle with a floor jack and secure on jack stands under the frame; remove the rear wheels.
- Support the rear axle or control arm with a secondary jack or stand to control movement when fasteners are removed.
- Remove any components blocking access (shock absorber lower bolt or sway bar link) as needed to expose the lower ball joint and spring mount area.
- Remove the old castle nut and any retaining hardware from the lower ball joint stud. Use a punch or appropriate tool to drive out any seized hardware if necessary.
- Unbolt and remove the old two-piece spring mount (if replacing the mount). Inspect the spring perch, lower control arm, and ball joint for wear or damage; replace any worn components.
- Position the new two-piece rear spring mount and align with the control arm and spring perch. Install the lower ball joint stud through the mount.
- Install the slotted castle nut onto the lower ball joint stud and tighten by hand. Torque the nut to the vehicle manufacturer's specifications using a torque wrench.
- Align the castle nut slot with the ball joint stud hole and insert a new cotter pin; bend the cotter pin ends to secure. Do not rely on the cotter pin to tighten the nut—torque to spec first.
- Reinstall any removed components (shocks, sway bar links), lower the axle slightly to seat components, and recheck torque on all fasteners.
- Reinstall the wheels, lower the vehicle to the ground, torque the wheel lug nuts to specification, and perform a short road test to verify proper operation and that no unusual noises or play are present.
About Redline Restomotive
Redline Restomotive® has established itself as a premier brand in the world of classic car restoration, providing enthusiasts with high-quality parts that meet the exacting standards of original manufacturer specifications. Dedicated to the preservation of American automotive history, Redline Restomotive® combines advanced manufacturing techniques with an in-depth understanding of vintage vehicles. The result is a range of products that seamlessly blend into the design and function of classic cars, giving restorers and collectors the assurance that each part reflects the era’s style, quality, and performance.
Crafted for both durability and aesthetic accuracy, Redline Restomotive® parts are ideal for those who value authenticity in their restoration projects. Whether restoring a car for display, personal enjoyment, or roadworthiness, customers rely on Redline Restomotive® for parts that not only fit perfectly but also contribute to the overall integrity and longevity of the vehicle. Each item is carefully engineered to replicate the fit, finish, and functionality of original components, making Redline Restomotive® a trusted name in restoration circles.
The extensive product catalog from Redline Restomotive® covers a wide variety of categories, allowing classic car owners to source everything from essential mechanical parts to subtle interior details. This comprehensive approach enables a cohesive restoration experience, where customers can confidently maintain both the exterior and interior authenticity of their vehicles. With Redline Restomotive®, every detail matters, providing the perfect balance between innovation and tradition for classic car preservation.
For more information or to explore their product offerings, you can visit retailers such as Muscle Cars & Classics, which feature a comprehensive selection of Redline Restomotive® products.
Vehicle Fitment:
The Vehicle Fitment Guide is to be used as a general reference. The data has been provided by our suppliers and manufacturers and may contain errors or incorrect data. Always refer to a professional to verify correct fitment for your vehicle.
| Make |
Model |
Years |
| Chevrolet |
Corvette |
1963 - 1982 |