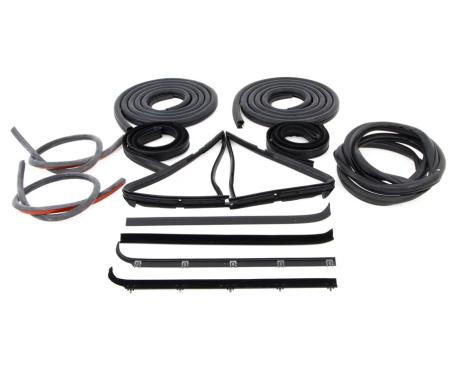
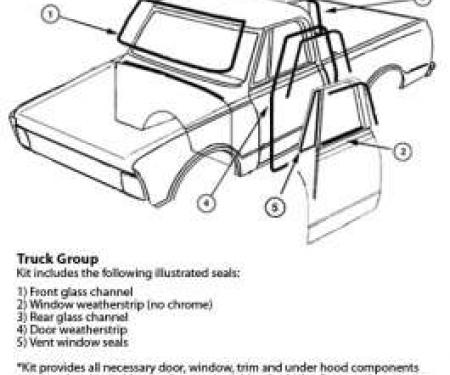
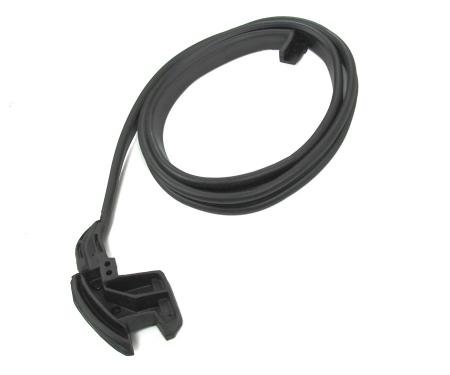
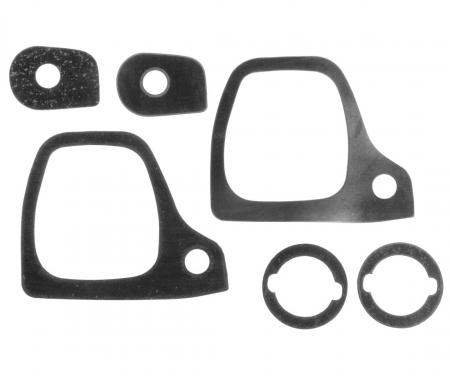
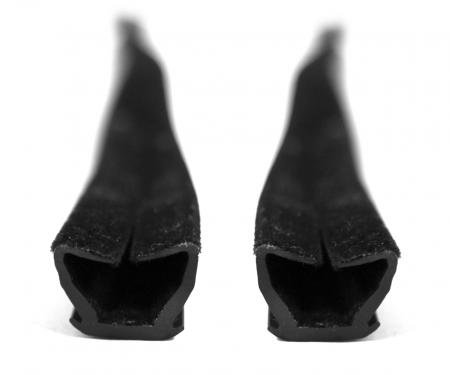
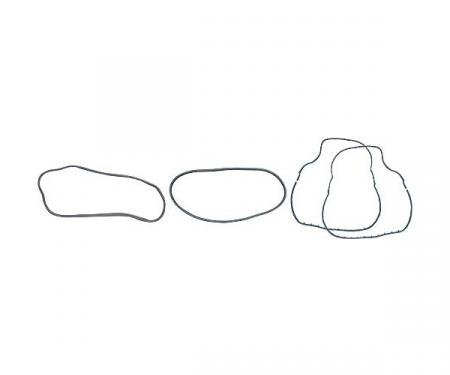
A 4-piece hard top weatherstrip seal kit engineered to restore and maintain a secure, watertight fit between a removable hard top and the vehicle body. The kit replaces deteriorated seals to prevent water intrusion, reduce wind noise and vibration, and protect painted surfaces from chafing. Made from resilient EPDM-style rubber with a form-stable profile, these seals deliver long-term durability and reliable compression to keep the hard top aligned and firmly seated. Designed for hard-top style vehicles — verify vehicle-specific fitment before purchase. Ideal for restoration projects and routine maintenance where a tight, factory-like seal is required.
Features:
- Durable EPDM-style rubber construction resists UV, ozone and temperature extremes.
- 4-piece set provides complete sealing for removable hard top applications.
- Prevents water leaks, reduces wind noise and minimizes vibration for a quieter ride.
- Restores factory-like fit and finish during restoration or replacement jobs.
- Trim-to-fit design allows straightforward installation and fine adjustments.
- Corrosion-resistant materials protect mating surfaces and prolong hardtop life.
Installation / Application:
- Difficulty: 2/5
- Estimated time: 30-60 minutes
Instructions:
- Remove the hard top (if applicable) and carefully detach the old weatherstrip seals using a trim tool or flat screwdriver.
- Clean all mounting surfaces thoroughly with rubbing alcohol or an appropriate cleaner to remove old adhesive, dirt, and residue. Allow to dry.
- Lay out the new seals and compare to the old pieces to confirm orientation and fit. Identify which piece corresponds to each edge of the hard top.
- Test-fit each seal without adhesive, trimming excess length as needed so ends meet cleanly at corners.
- If using adhesive, apply a thin, even bead of weatherstrip adhesive to the mounting flange or channel per the adhesive manufacturer's instructions.
- Press the seal firmly into place, ensuring the profile seats correctly against the hard top and body. Use masking tape to hold seals in position while adhesive cures.
- For tight bends or corners, warm the seal gently with a heat gun or hairdryer to improve flexibility and prevent kinking.
- Allow adhesive to cure fully according to product directions, then remove masking tape and reinstall the hard top.
- Check alignment and perform a water test or road test to confirm proper sealing. Make minor adjustments or add small adhesive spots where needed.
About Precision Replacement Parts
Since 1986 Precision Replacement Parts has been a trusted name in the Automotive Glass Industry.
Our knowledge and experience in manufacturing millions of extruded and molded EPDM Rubber, PVC and HDPE based plastics, and various stamped and extruded metal products for the classic and late model industries has allowed Precision to expand our services into multiple product markets.
Along with our own USA based production facility, Precision also partners with 25 different manufactures worldwide with a reputation as a global leader supplying OEM and replacement products to a number of different industries. Our partnerships along with our own in-house manufacturing and fabrication capability gives Precision a unique position in helping to meet the expanding needs of customers everywhere, providing them with a sustained competitive advantage.

Vehicle Fitment:
The Vehicle Fitment Guide is to be used as a general reference. The data has been provided by our suppliers and manufacturers and may contain errors or incorrect data. Always refer to a professional to verify correct fitment for your vehicle.
| Make |
Model |
Years |
| Chevrolet |
Blazer |
1987 - 1991 |
| Chevrolet |
K5 Blazer |
1976 - 1986 |
| GMC |
Jimmy |
1976 - 1991 |