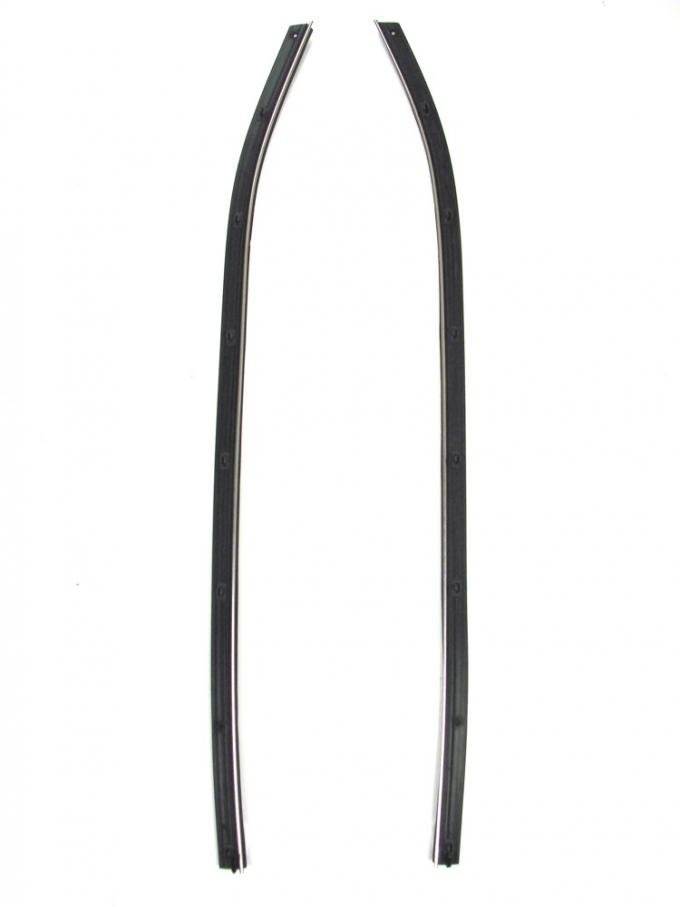
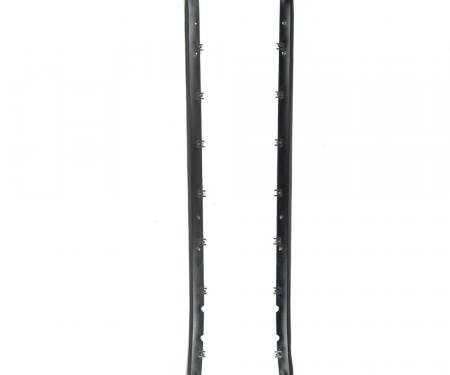
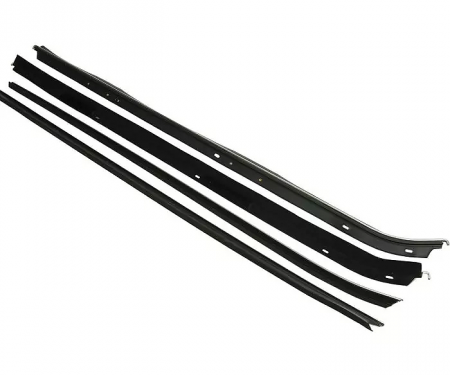
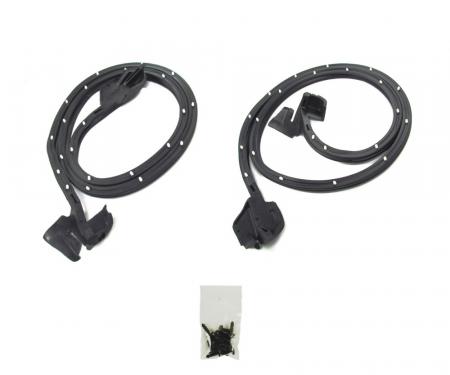
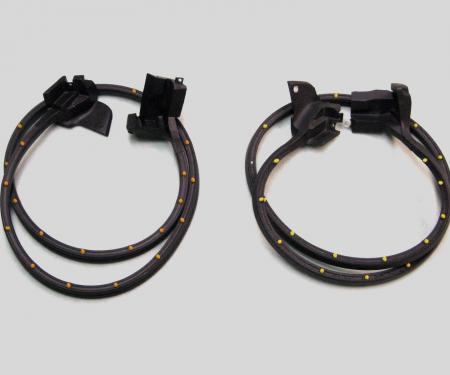
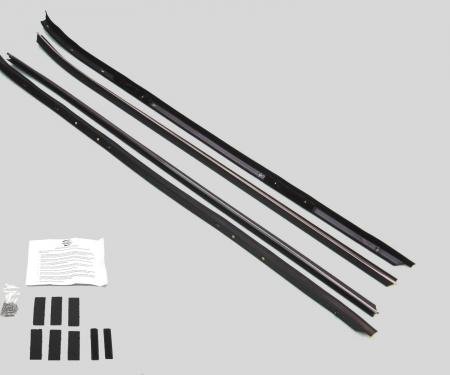
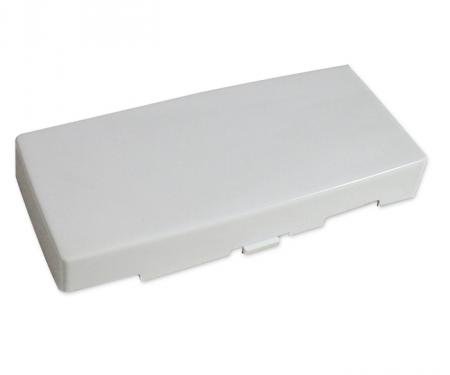
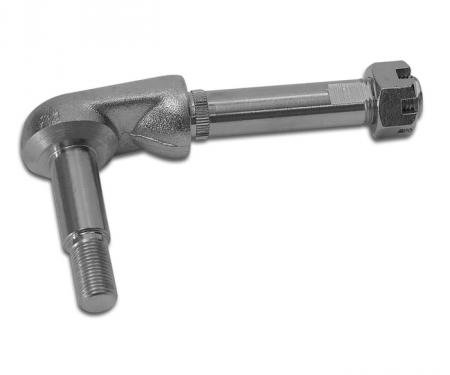
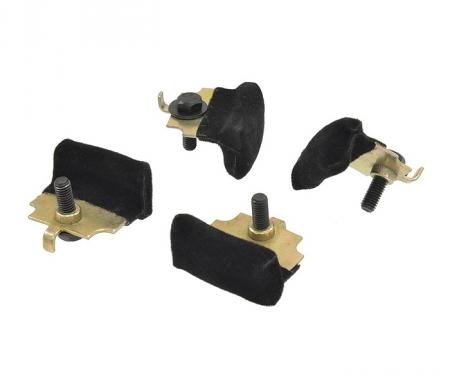
Precision 1969-1975 Chevrolet Corvette Beltline Molding Kit, Outer Left and Right Hand, Pair, Convertibles Only WFP 1611 69
- Fits 1969–1975 Chevrolet Corvette convertibles (outer left and right, pair).
- Corrosion-resistant metal construction with a polished finish for long-lasting appearance.
- Secures and protects the beltline and window channel while preventing paint damage.
- OEM-style fit: mounts to factory locations for correct alignment and appearance.
- Direct replacement for worn, bent, or missing molding to aid restoration and maintenance.
- Durable, reliable finish resists tarnish and reduces long-term maintenance.
- Difficulty: 2/5
- Estimated time: 30–60 minutes (both sides, single technician; allow more time if clips/hardware require replacement)
- Plastic trim removal tool
- Phillips and flathead screwdrivers
- Socket set and ratchet (common SAE/metric sizes)
- Masking tape
- Clean rag and isopropyl alcohol or mild cleaner
- Replacement trim clips or fasteners (if needed)
- Prepare the vehicle: lower the convertible top partially or fully as needed for access, stabilize the vehicle on level ground, and gather tools.
- Remove old molding: use a trim tool to carefully pry out trim clips and a screwdriver or socket to remove any screws or fasteners. Save reusable hardware.
- Clean mounting surface: remove old adhesive residue, dirt, and corrosion using isopropyl alcohol and a clean rag. Allow the surface to dry.
- Dry-fit new molding: position the left or right molding along the beltline to check alignment and identify fastener locations. Use masking tape to hold pieces if helpful.
- Install molding: starting at the front end, align the molding to the factory holes and press into place. Insert clips or fasteners and hand-tighten screws where applicable; work along the length to ensure even fit.
- Secure and adjust: tighten fasteners snugly but avoid over-torquing which can deform the trim. Replace any damaged clips with new ones to ensure secure retention.
- Inspect final fit: check that edges are flush, the top seals correctly, and that the molding does not bind the convertible top mechanism. Make any minor adjustments to alignment as needed.
- Finish: clean the moldings with a soft cloth to remove fingerprints and installation residue. Re-check after a short test drive and retighten fasteners if settling occurs.
Since 1986 Precision Replacement Parts has been a trusted name in the Automotive Glass Industry.
Our knowledge and experience in manufacturing millions of extruded and molded EPDM Rubber, PVC and HDPE based plastics, and various stamped and extruded metal products for the classic and late model industries has allowed Precision to expand our services into multiple product markets.
Along with our own USA based production facility, Precision also partners with 25 different manufactures worldwide with a reputation as a global leader supplying OEM and replacement products to a number of different industries. Our partnerships along with our own in-house manufacturing and fabrication capability gives Precision a unique position in helping to meet the expanding needs of customers everywhere, providing them with a sustained competitive advantage.

Vehicle Fitment:
| Make | Model | Years |
| Chevrolet | Corvette | 1969 - 1975 |
Specifications:
| Part Type | Door Window Belt Weatherstrip |
| Proposition 65 | www.P65Warnings.ca.gov |
| Warranty | Lifetime on Defects TX |

