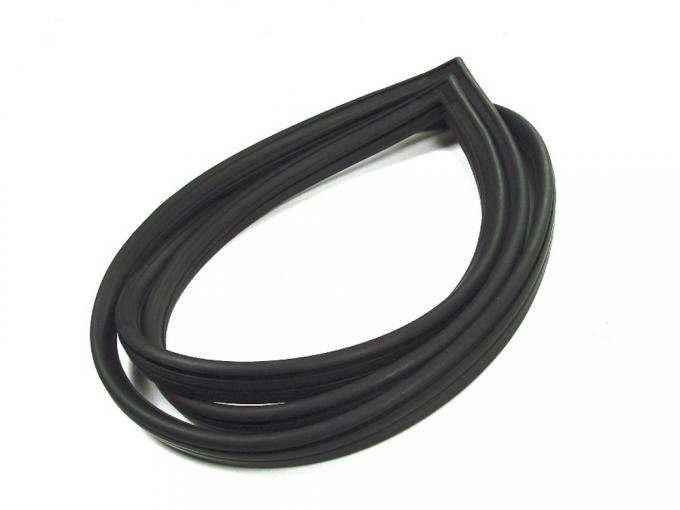
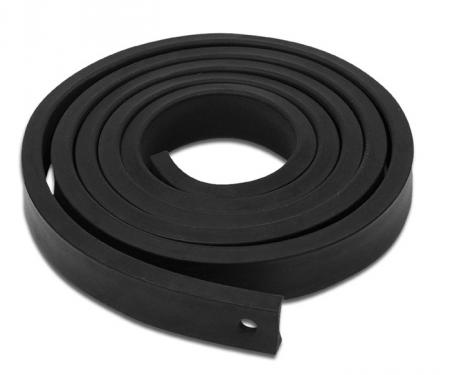
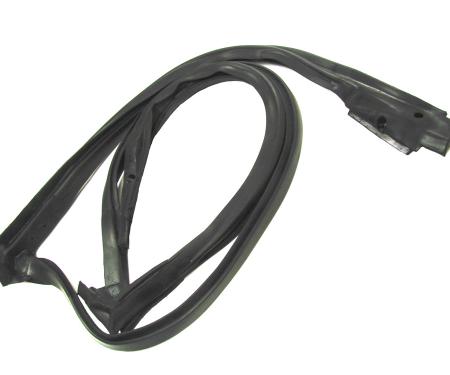
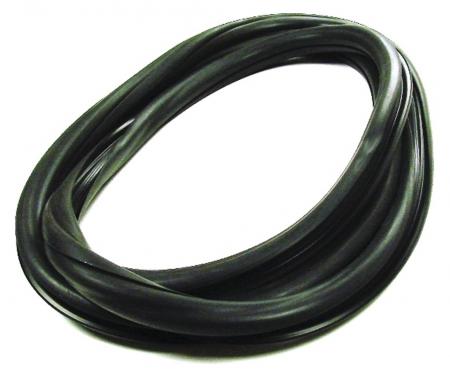
Precision 2+2 Models - Windshield Weatherstrip Seal With Trim Groove 72610 N3700
- Fits 2+2 models — check application guide for exact year and model compatibility.
- Premium weather-resistant rubber construction for long-term durability.
- Trim groove accepts exterior molding for a finished, factory appearance.
- Seals against water and wind to reduce leaks and cabin noise.
- OEM-style profile for proper fit and ease of replacement during restorations.
- Simple installation with basic tools; designed for reliable, repeatable seating.
- Difficulty: 3/5
- Estimated time: 45–90 minutes
- Trim removal tool or flat screwdriver (wrapped to avoid paint damage)
- Rubber mallet or block of wood
- Isopropyl alcohol and clean cloths
- Glass cleaner
- Channel lubricant (soapy water or silicone spray)
- Small pry bar or windshield molding tool
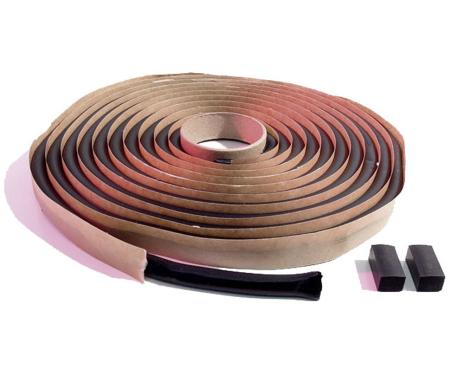
- Optional: urethane adhesive or sealant (if original application requires it)
- Park vehicle on level ground and protect painted surfaces with tape and cloths.
- Carefully remove exterior trim/molding and any clips or retainers using a trim tool; keep hardware for reuse if undamaged.
- Clean the windshield edge and body channel thoroughly with glass cleaner and isopropyl alcohol; remove old adhesive, dirt, and rust.
- Inspect the windshield bead and body flange for damage; repair or replace as needed before installing the new seal.
- Apply a light channel lubricant (soapy water or silicone spray) to the seal channel to aid installation.
- Begin seating the new weatherstrip by aligning the corner and pressing the seal into the body channel. Use a rubber mallet or block of wood to gently tap the seal fully into the channel, working around the perimeter.
- Ensure the trim groove is aligned with the exterior molding path; reinstall the molding into the groove and secure any retainers or clips.
- If the original installation used adhesive or if a watertight bond is required, apply the recommended urethane or sealant per product instructions and allow proper cure time.
- Reinstall any removed trim pieces and clean the windshield and surrounding areas.
- Perform a water test (gentle hose spray) to check for leaks and make any final adjustments as needed.
Since 1986 Precision Replacement Parts has been a trusted name in the Automotive Glass Industry.
Our knowledge and experience in manufacturing millions of extruded and molded EPDM Rubber, PVC and HDPE based plastics, and various stamped and extruded metal products for the classic and late model industries has allowed Precision to expand our services into multiple product markets.
Along with our own USA based production facility, Precision also partners with 25 different manufactures worldwide with a reputation as a global leader supplying OEM and replacement products to a number of different industries. Our partnerships along with our own in-house manufacturing and fabrication capability gives Precision a unique position in helping to meet the expanding needs of customers everywhere, providing them with a sustained competitive advantage.

Vehicle Fitment:
| Make | Model | Submodel | Years |
| Nissan | 260Z | 2+2 | 1974 - 1975 |
| Nissan | 280Z | 2+2 | 1975 - 1978 |
Specifications:
| Part Type | Windshield Seal |
| Proposition 65 | www.P65Warnings.ca.gov |
| Warranty | Lifetime on Defects TX |

