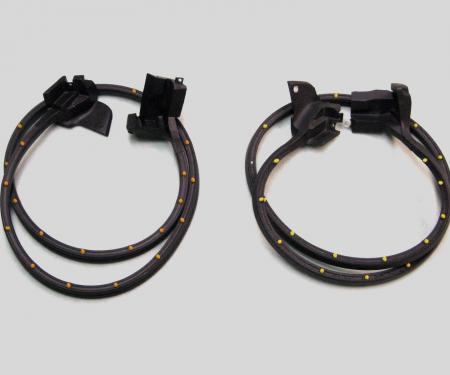
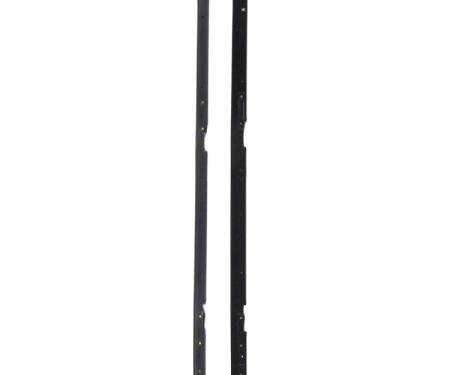
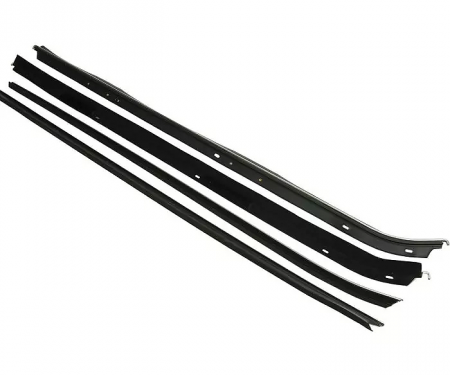
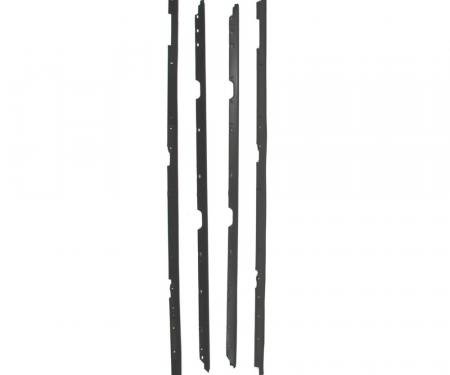
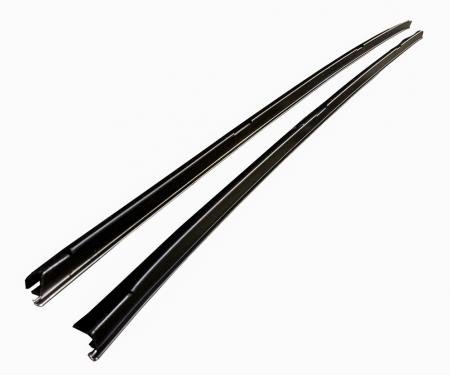
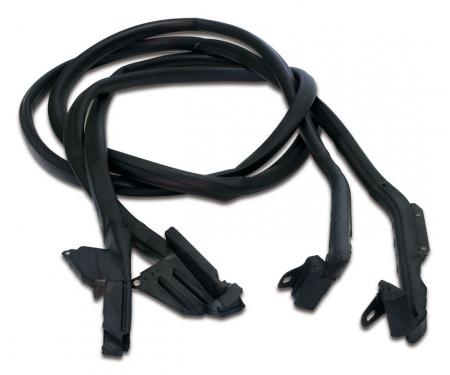
Beltline Molding Kit (Outer Left & Right, WFP 1411 82) restores and secures the vehicle's outer beltline trim, providing an OEM-style finish while protecting the door-edge and glass channel from damage. These precision-formed moldings align and fasten the trim along the beltline to reduce wind noise and vibration, help prevent water intrusion, and renew the vehicle’s exterior appearance. Built for durability and ease of replacement, the kit is ideal for restoration or maintenance projects where reliable fit and long-lasting corrosion resistance are required.
Features:
- Fits outer left and right beltline positions (WFP 1411 82) — pair included.
- Precision-formed, corrosion-resistant metal with OEM-style finish for long-term durability.
- Secures and aligns beltline trim, reducing wind noise and vibration while protecting the door edge and glass channel.
- Easy-to-install design with factory-style clip/tuck features for a tight, reliable fit.
- Ideal for restoration and replacement applications to renew exterior appearance and function.
Installation / Application:
- Difficulty: 2/5
- Estimated time: 30-60 minutes
Instructions:
- Park on a level surface, roll windows up, and gather tools. Work on one side at a time.
- Carefully remove the old beltline molding: use a trim tool to pry clips free and a screwdriver or pliers to remove any retained fasteners or old clips.
- Inspect the mounting channel for rust, adhesive residue, or bent metal. Clean the area thoroughly with isopropyl alcohol and a cloth; remove old adhesive or corrosion.
- Transfer any reusable clips from the old molding to the new pieces or install new clips supplied with the kit. Replace any damaged clips or fasteners.
- Test-fit the new outer left or right molding on the vehicle to confirm alignment. Trim or adjust clip positions if necessary for a snug fit.
- Starting at one end (usually the front), engage the molding clips into the channel and press firmly along the length, working toward the opposite end. For long pieces, press from center outward to avoid gaps.
- If the kit requires screws or adhesive, install fasteners per instructions and apply a bead of automotive sealant at the ends or any exposed seams to prevent water intrusion.
- Inspect the installed molding for uniform fit and trim any excess material or sealant. Repeat the process on the opposite side and test doors/windows to ensure proper operation.
About Precision Replacement Parts
Since 1986 Precision Replacement Parts has been a trusted name in the Automotive Glass Industry.
Our knowledge and experience in manufacturing millions of extruded and molded EPDM Rubber, PVC and HDPE based plastics, and various stamped and extruded metal products for the classic and late model industries has allowed Precision to expand our services into multiple product markets.
Along with our own USA based production facility, Precision also partners with 25 different manufactures worldwide with a reputation as a global leader supplying OEM and replacement products to a number of different industries. Our partnerships along with our own in-house manufacturing and fabrication capability gives Precision a unique position in helping to meet the expanding needs of customers everywhere, providing them with a sustained competitive advantage.

Vehicle Fitment:
The Vehicle Fitment Guide is to be used as a general reference. The data has been provided by our suppliers and manufacturers and may contain errors or incorrect data. Always refer to a professional to verify correct fitment for your vehicle.
| Make |
Model |
Submodel |
Years |
| Buick |
Regal |
GNX |
1987 |
| Buick |
Regal |
Grand National |
1984 - 1987 |
| Buick |
Regal |
T-Type |
1984 - 1986 |
| Buick |
Regal |
|
1981 - 1983 |
| Oldsmobile |
Cutlass Salon |
|
1985 - 1987 |
| Oldsmobile |
Cutlass Supreme |
|
1981 - 1988 |