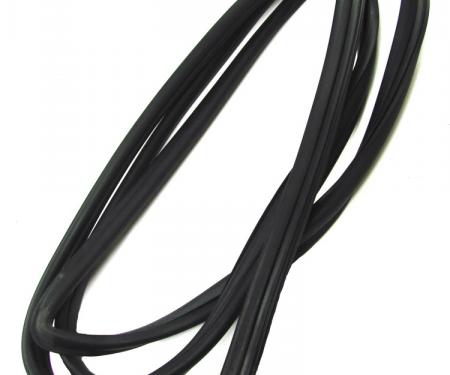
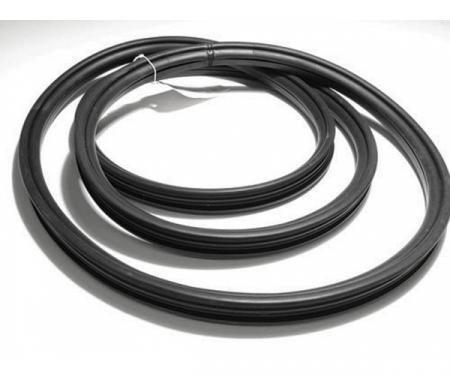
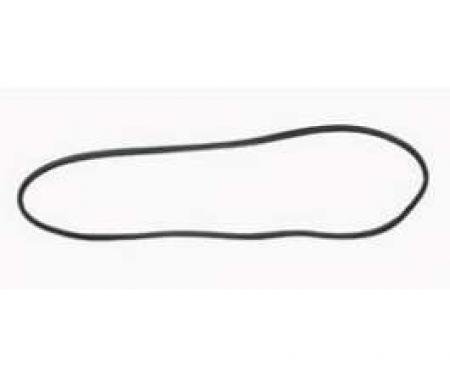
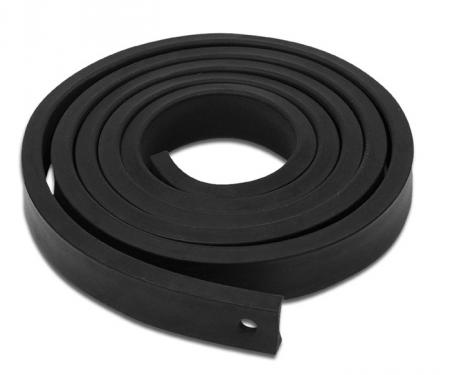
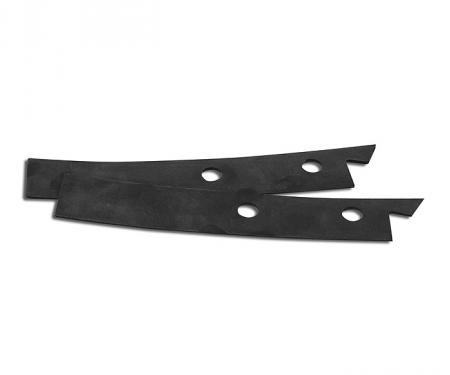
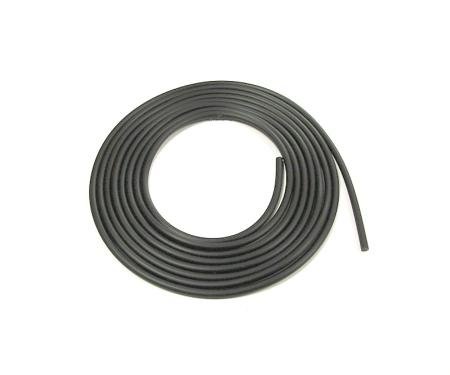
The Precision Glass Weatherstrip Lockstrip WLS 101 is a durable window lockstrip designed to secure and seal vehicle glass in its channel. Engineered to replace worn or damaged factory lockstrips, it holds the glass firmly, reduces vibration and wind noise, and helps prevent water intrusion. Constructed from weather-resistant materials with an integrated locking channel, WLS 101 is a reliable choice for restoration and maintenance of door and vent windows on a wide range of vehicles. Easy to install with basic hand tools, it restores proper glass alignment and smooth window operation.
Features:
- Direct replacement lockstrip for many vehicle window channels; fits a wide range of domestic and import applications.
- EPDM rubber sealing lip with integrated metal locking channel for secure glass retention.
- Prevents rattling, reduces wind noise, and helps block water and debris entry.
- Weather-, ozone-, and UV-resistant materials for long-lasting durability.
- Simple retrofit for restoration or maintenance — restores factory-like fit and operation.
Installation / Application:
- Difficulty: 2/5
- Estimated time: 30-60 minutes per door
Instructions:
- Prepare: Park vehicle on level ground and disconnect the negative battery terminal if you will remove powered window components. Lower the window glass to a position that allows access to the lockstrip area.
- Remove interior trim as needed: Carefully remove the door panel or vent-window trim using plastic trim tools and screwdrivers to access the glass channel and lockstrip.
- Remove old lockstrip: Gently pull or pry out the existing lockstrip. If it has a metal insert, slide or cut and remove that component first. Use pliers for stubborn sections, taking care not to damage the glass or channel.
- Clean channel: Wipe the glass edge and channel with rubbing alcohol or mild cleaner to remove old adhesive, dirt, and grease. Ensure the channel is dry before installation.
- Lubricate: Apply a light coat of soapy water or silicone spray to the glass edge and the new lockstrip to ease installation and prevent binding.
- Cut to length: If the new lockstrip has a metal insert, measure the correct length, and trim the metal insert and rubber to fit the channel precisely.
- Install metal insert (if applicable): Slide the metal locking channel into the rubber extrusion so it engages properly along the rubber’s base.
- Seat the strip: Starting at one end, position the rubber lip over the glass edge and press the metal channel into the glass channel. Work slowly along the length, pressing or rolling the lockstrip into place. Use a rubber roller or a block of wood and light taps if needed to fully seat the strip.
- Test operation: Raise and lower the window several times to ensure smooth operation and correct alignment. Check for any gaps or interference.
- Reassemble: Reinstall the door panel and any removed trim. Clean the area and perform a final check for leaks and noise.
About Precision Replacement Parts
Since 1986 Precision Replacement Parts has been a trusted name in the Automotive Glass Industry.
Our knowledge and experience in manufacturing millions of extruded and molded EPDM Rubber, PVC and HDPE based plastics, and various stamped and extruded metal products for the classic and late model industries has allowed Precision to expand our services into multiple product markets.
Along with our own USA based production facility, Precision also partners with 25 different manufactures worldwide with a reputation as a global leader supplying OEM and replacement products to a number of different industries. Our partnerships along with our own in-house manufacturing and fabrication capability gives Precision a unique position in helping to meet the expanding needs of customers everywhere, providing them with a sustained competitive advantage.

Vehicle Fitment:
The Vehicle Fitment Guide is to be used as a general reference. The data has been provided by our suppliers and manufacturers and may contain errors or incorrect data. Always refer to a professional to verify correct fitment for your vehicle.
| Make |
Model |
Years |
| Ford |
Bronco |
1978 - 1979 |
| Ford |
F-100 |
1977 - 1979 |
| Ford |
F-150 |
1977 - 1979 |
| Ford |
F-250 |
1977 - 1979 |
| Ford |
F-350 |
1977 - 1979 |