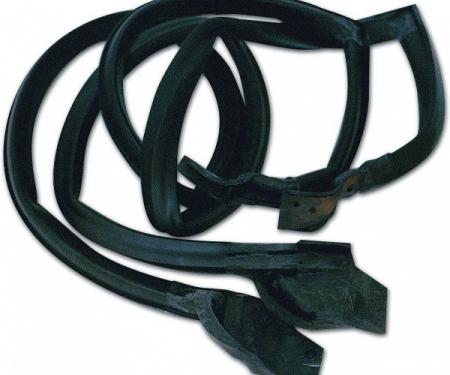
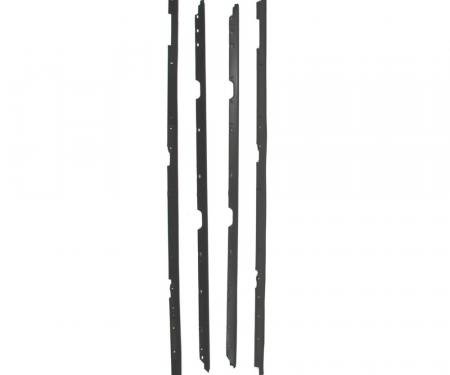
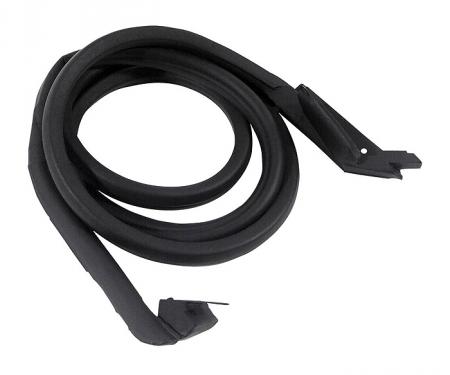
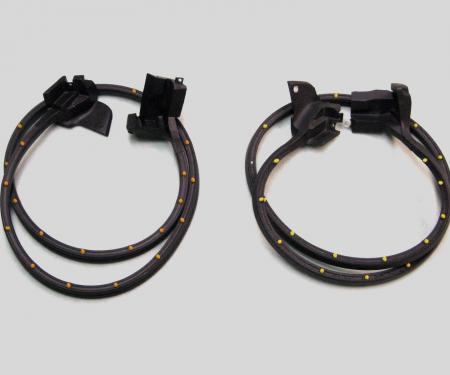
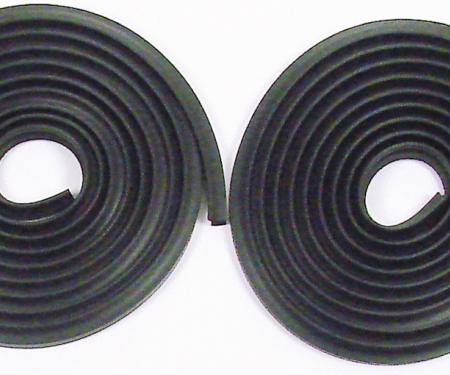
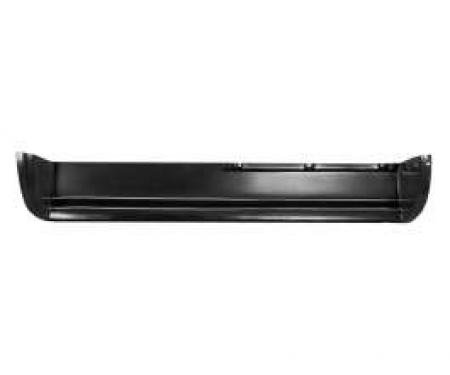
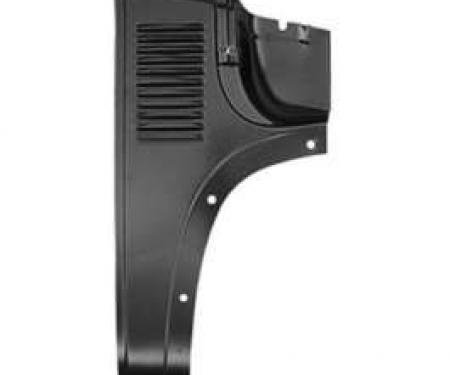
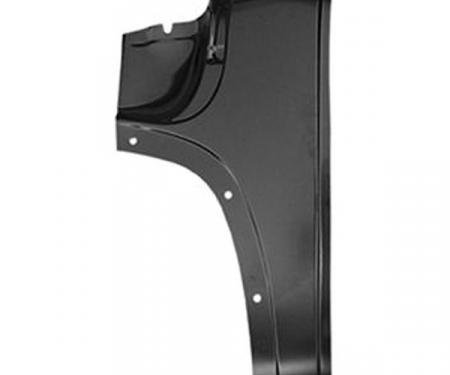
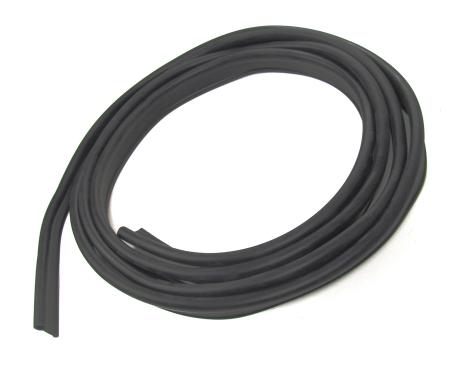
Precision Door Weatherstrip Seal, Left or Right DWB 1113 47
- Fits left or right door applications (part DWB 1113 47) — confirm fitment for your vehicle prior to purchase.
- Durable, weather-resistant rubber construction resists UV, ozone, and temperature extremes.
- Restores original sealing performance to prevent water leaks, wind noise, and dust entry.
- Helps maintain correct door alignment and reduces vibration and rattles.
- Easy to trim and fit for a clean, OEM-style appearance during restoration or repair.
- Ideal for classic car and truck restoration or routine weatherstrip replacement.
- Difficulty: 2/5
- Estimated time: 30-60 minutes
- Flat-head screwdriver or trim removal tool
- Phillips screwdriver (if door panel removal is required)
- Rubbing alcohol or adhesive cleaner
- Clean cloth
- Weatherstrip adhesive (if required)
- Scissors or utility knife
- Masking tape (optional)
- Park the vehicle on a level surface, open the door fully, and disconnect the negative battery cable if required for your model.
- Remove the old weatherstrip: gently pry out retainers or pull the old seal from the channel. If door panel removal is required for access, remove screws and clips carefully.
- Clean the mounting channel thoroughly with rubbing alcohol or adhesive cleaner to remove dirt, old adhesive, and residue. Allow to dry completely.
- Test-fit the new seal along the door channel to ensure correct orientation and length. Trim excess material as needed, leaving a small allowance for compression at the corners.
- If the seal uses a metal/plastic retainer, press the retainer into the channel starting at one end and working toward the other, ensuring it seats evenly. If adhesive is recommended, apply a thin bead of weatherstrip adhesive to the channel or seal per adhesive instructions before seating.
- Work the seal into place by hand, pressing firmly along its length. Use masking tape to hold sections in place while adhesive cures if needed.
- Close and open the door several times to check for proper fit, gaps, or binding. Make minor adjustments where necessary.
- Reinstall any removed door panel hardware and clean the surrounding area. Allow any adhesive to cure fully before exposure to moisture or high use.
Since 1986 Precision Replacement Parts has been a trusted name in the Automotive Glass Industry.
Our knowledge and experience in manufacturing millions of extruded and molded EPDM Rubber, PVC and HDPE based plastics, and various stamped and extruded metal products for the classic and late model industries has allowed Precision to expand our services into multiple product markets.
Along with our own USA based production facility, Precision also partners with 25 different manufactures worldwide with a reputation as a global leader supplying OEM and replacement products to a number of different industries. Our partnerships along with our own in-house manufacturing and fabrication capability gives Precision a unique position in helping to meet the expanding needs of customers everywhere, providing them with a sustained competitive advantage.

Vehicle Fitment:
| Make | Model | Years |
| Chevrolet | Truck | 1947 - 1948 |
| GMC | Truck | 1947 - 1948 |
Specifications:
| Part Type | Door Seal |
| Proposition 65 | www.P65Warnings.ca.gov |
| Warranty | Lifetime on Defects TX |


