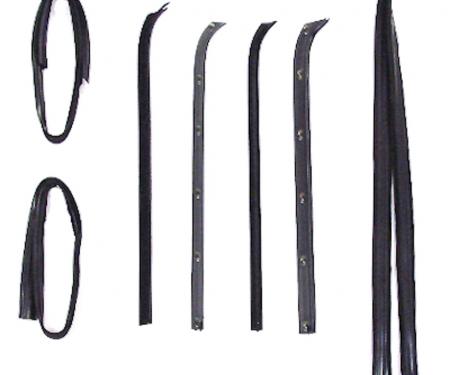
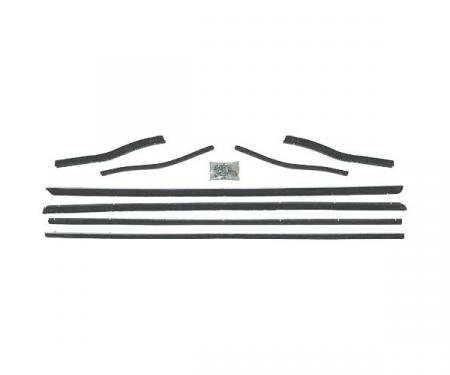
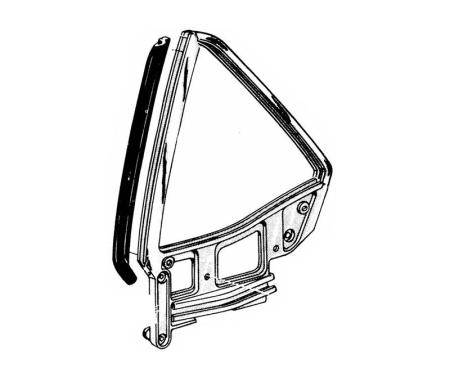
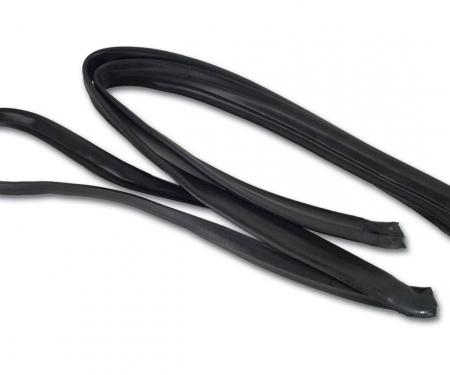
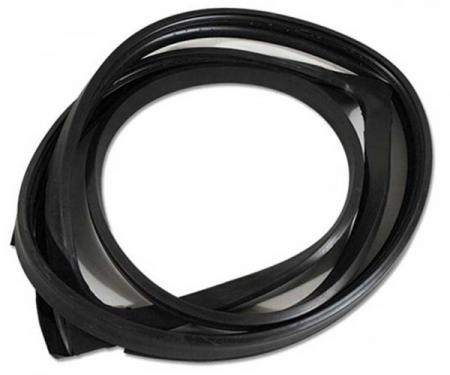
Rear window weatherstrip seal designed for GM 2-door hardtop models. This seal works with chrome trim that inserts into body clips to create a secure, watertight barrier around the rear window, preventing leaks, wind noise, and water intrusion that can cause rust and interior damage. Constructed from a durable rubber compound for long-lasting performance, it provides an OEM-style fit for restoration and replacement projects while remaining simple to install for experienced DIYers and professional installers alike.
Features:
- Fits GM 2-door hardtop models (rear window) — verify exact vehicle fitment before ordering.
- Works with chrome trim that inserts into factory body clips for authentic appearance.
- Durable rubber compound resists weathering, cracking, and deformation over time.
- Helps prevent water leaks, reduces wind noise, and protects against rust and interior damage.
- OEM-style replacement ideal for restorations, repairs, or upgrading worn seals.
- Designed for straightforward installation with basic trim removal and reassembly.
Installation / Application:
- Difficulty: 2/5
- Estimated time: 30-90 minutes
Instructions:
- Park vehicle on level ground and work in a well-lit, dry area. Protect painted surfaces with tape or cloth.
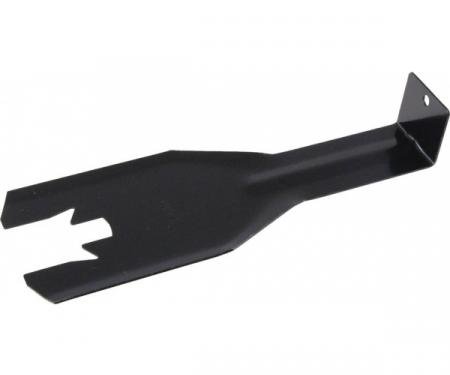
- Carefully remove the chrome trim: use a plastic trim tool or wrapped flathead screwdriver to pry trim free from the body clips, working slowly to avoid bending the trim.
- Remove the old weatherstrip by pulling it away from the channel and disconnecting any retained clips; use pliers if necessary.
- Clean the window channel and trim seating area thoroughly with a cloth and isopropyl alcohol or mild cleaner to remove old adhesive, dirt, and debris. Allow to dry.
- Test-fit the new weatherstrip together with the chrome trim (if applicable) to ensure proper orientation and fit before final installation.
- Align the new seal with the body clip locations and press it firmly into the channel starting at one end and working across. Use a rubber mallet gently if needed to seat it evenly.
- Reinstall the chrome trim by inserting it into the new seal and snapping it into the factory body clips. Replace any damaged clips with new ones for secure retention.
- Inspect the entire perimeter for proper seating and consistent contact. If adhesive was used, allow recommended cure time before exposing to moisture.
- Perform a water test (hose the sealed area lightly) to confirm no leaks and make any minor adjustments if necessary.
About Precision Replacement Parts
Since 1986 Precision Replacement Parts has been a trusted name in the Automotive Glass Industry.
Our knowledge and experience in manufacturing millions of extruded and molded EPDM Rubber, PVC and HDPE based plastics, and various stamped and extruded metal products for the classic and late model industries has allowed Precision to expand our services into multiple product markets.
Along with our own USA based production facility, Precision also partners with 25 different manufactures worldwide with a reputation as a global leader supplying OEM and replacement products to a number of different industries. Our partnerships along with our own in-house manufacturing and fabrication capability gives Precision a unique position in helping to meet the expanding needs of customers everywhere, providing them with a sustained competitive advantage.

Vehicle Fitment:
The Vehicle Fitment Guide is to be used as a general reference. The data has been provided by our suppliers and manufacturers and may contain errors or incorrect data. Always refer to a professional to verify correct fitment for your vehicle.
| Make |
Model |
Years |
Fitment Notes |
| Chevrolet |
Bel Air |
1955 - 1957 |
|
| Pontiac |
Chieftain |
1955 - 1957 |
Coupe
2 door |
| Pontiac |
Star Chief |
1955 - 1957 |
Coupe
2 door |