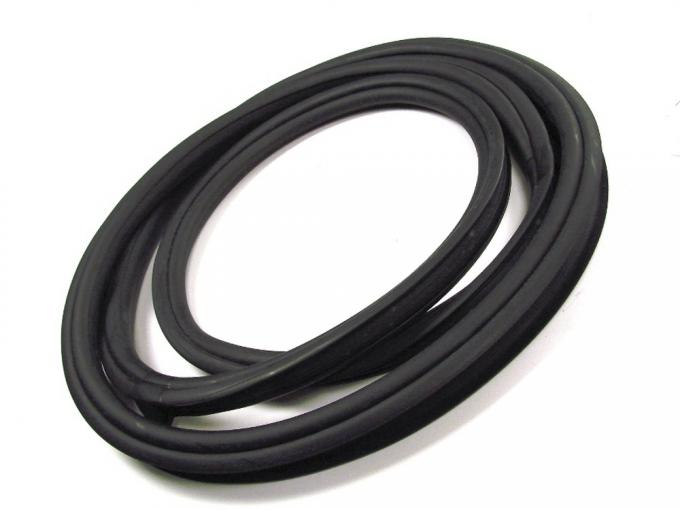
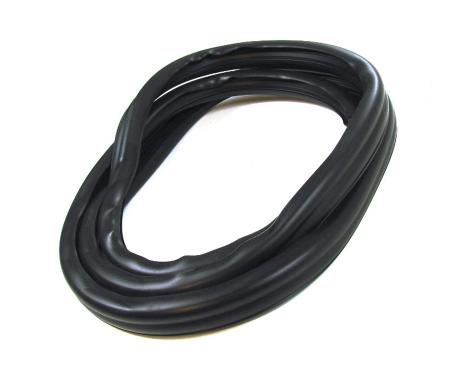
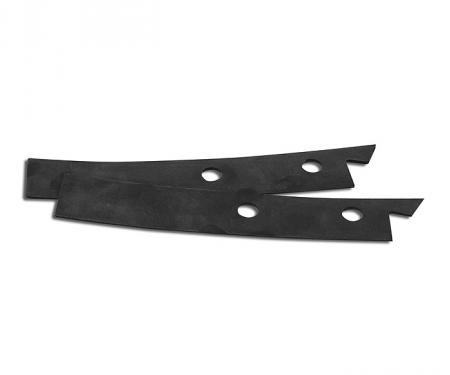
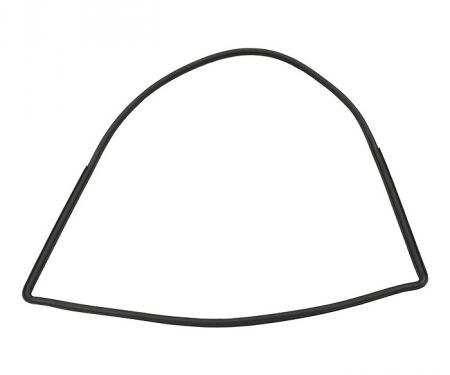
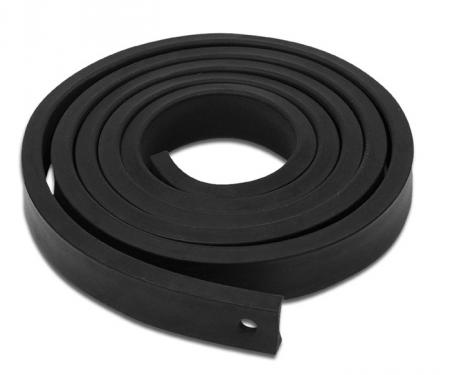
Precision Windshield Weatherstrip Seal With Trim Groove - First Series WCR 362 GM
- Fits First Series GM vehicles — confirm specific year, make and model before purchase.
- Durable weather-resistant rubber compound resists ozone, UV and temperature extremes.
- Integrated trim groove secures exterior stainless or chrome molding for a factory look.
- Forms a watertight, noise-reducing seal to prevent leaks and wind buffeting.
- OEM-style profile for accurate fit and restoration-grade appearance.
- Straightforward installation with common hand tools — ideal for restoration or replacement work.
- Difficulty: 3/5
- Estimated time: 1–3 hours (typical)
- weatherstrip adhesive (automotive grade)
- trim adhesive/sealant (if required)
- utility knife or razor blade
- trim removal tool or plastic pry tool
- clean rags and isopropyl alcohol
- masking tape
- soapy water in spray bottle (lubricant)
- protective gloves
- small brush or applicator
- Park vehicle on a level surface and protect painted areas around the windshield with masking tape and drop cloths.
- Carefully remove the old weatherstrip and any attached trim. Use a trim tool and razor blade to cut away adhesive and rubber; avoid damaging the windshield or pinch weld.
- Thoroughly clean the windshield flange (pinch weld) and glass edge with isopropyl alcohol to remove old adhesive, dirt and oil. Allow to dry.
- Test-fit the new weatherstrip on the windshield flange to confirm orientation and fit. Note the location of the trim groove and any corner joints.
- Apply a thin, even bead of automotive weatherstrip adhesive to the flange or to the inner lip of the seal per the adhesive manufacturer’s instructions. Use a small brush or applicator for controlled application.
- Lubricate the seal’s bead lightly with soapy water to aid sliding into the flange. Starting at one corner, press the seal into the pinch weld and work around the opening, ensuring the bead seats fully into the channel. Do not stretch the seal; keep it relaxed to prevent distortion.
- If installing exterior trim, align the trim with the groove and press it into place after the seal is seated. Use masking tape or clamps to hold the trim while adhesive cures if required.
- Wipe away excess adhesive immediately with a clean rag and solvent recommended by the adhesive maker. Allow adhesive to cure for the recommended time before driving or exposing to moisture.
- Inspect the installed seal for uniform seating and proper trim alignment. Perform a water test (gentle hose) after cure time to verify there are no leaks.
Since 1986 Precision Replacement Parts has been a trusted name in the Automotive Glass Industry.
Our knowledge and experience in manufacturing millions of extruded and molded EPDM Rubber, PVC and HDPE based plastics, and various stamped and extruded metal products for the classic and late model industries has allowed Precision to expand our services into multiple product markets.
Along with our own USA based production facility, Precision also partners with 25 different manufactures worldwide with a reputation as a global leader supplying OEM and replacement products to a number of different industries. Our partnerships along with our own in-house manufacturing and fabrication capability gives Precision a unique position in helping to meet the expanding needs of customers everywhere, providing them with a sustained competitive advantage.

Vehicle Fitment:
| Make | Model | Years |
| Chevrolet | Truck | 1954 - 1955 |
| GMC | Truck | 1954 - 1955 |
Specifications:
| Part Type | Windshield Seal |
| Proposition 65 | www.P65Warnings.ca.gov |
| Warranty | Lifetime on Defects TX |

