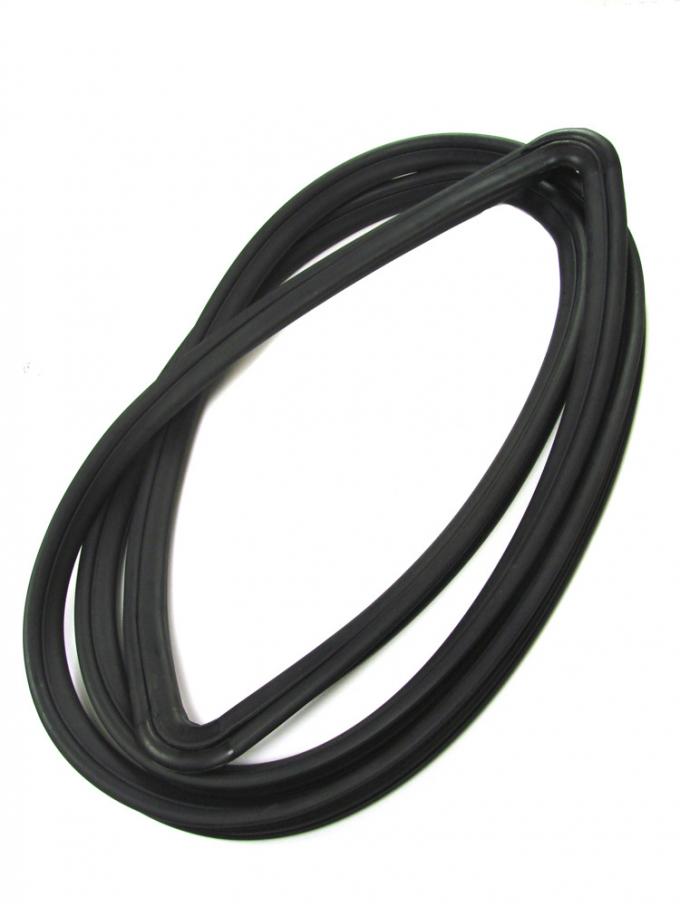
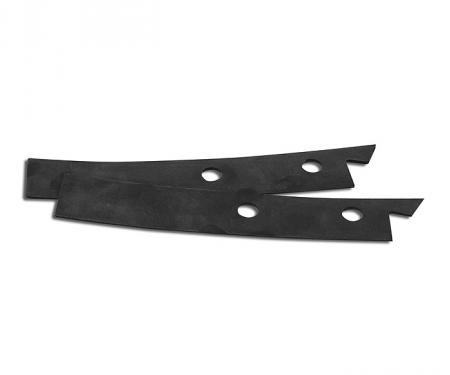
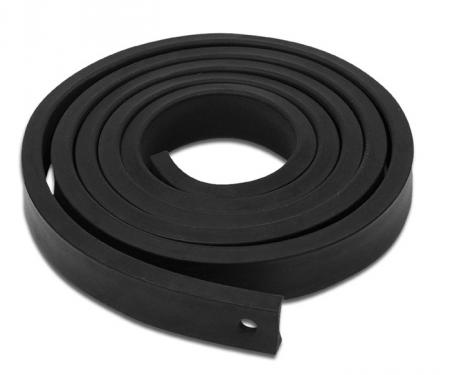
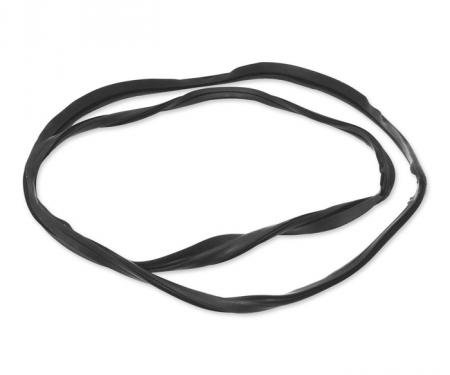
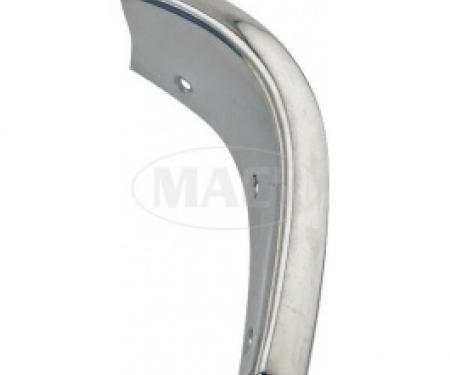
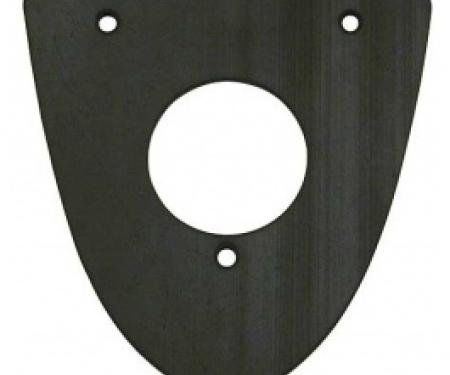
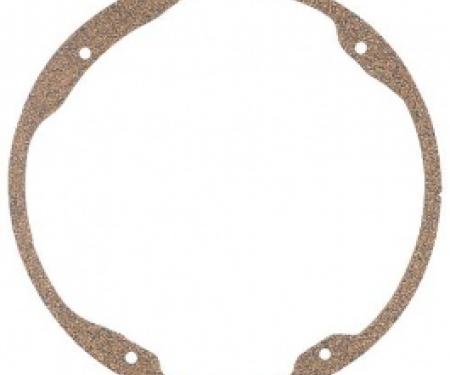
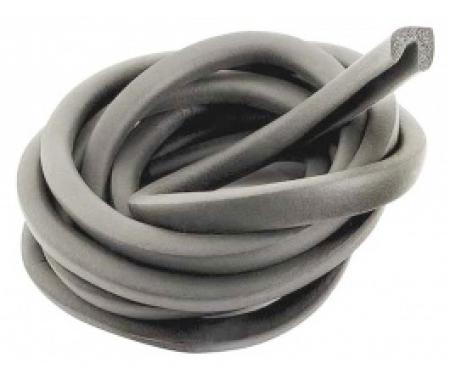
Precision 1955-1957 Ford Thunderbird Windshield Weatherstrip Seal With Trim Groove for Steel Trim WCR 374
- Fits 1955–1957 Ford Thunderbird windshield applications (1955, 1956, 1957).
- Premium EPDM rubber construction resists ozone, UV and temperature aging for long-lasting performance.
- Integrated trim groove accepts steel/stainless windshield molding for a factory-correct appearance.
- Helps prevent water intrusion, reduces wind noise and minimizes vibration between glass and trim.
- Easy to seat and form for a snug, leak-free fit; ideal for restoration and replacement projects.
- Difficulty: 2/5
- Estimated time: 1–2 hours
- flat screwdriver (wrapped)
- plastic trim removal tool
- utility knife or razor blade
- isopropyl alcohol and clean rags
- weatherstrip lubricant or soapy water
- rubber mallet or soft-faced hammer
- masking tape
- work gloves
- assistant or suction cups (recommended)
- Park vehicle on a level surface and protect paint and interior with drop cloths. Wear gloves and eye protection.
- Carefully remove the exterior windshield molding/trim pieces. Keep all fasteners and clips organized for reassembly.
- Remove the old weatherstrip: cut and pull out the old seal using a utility knife and trim tool. Take care around the glass to avoid damage.
- Clean the windshield channel and trim mounting area thoroughly with isopropyl alcohol to remove old adhesive, dirt and residue. Allow to dry.
- Test-fit the new weatherstrip onto the windshield channel and verify the trim groove lines up with the molding. Trim excess material only if necessary.
- Apply a thin film of weatherstrip lubricant or soapy water to the seal lip and glass channel to ease installation.
- Starting at the center top, press the seal into the channel and work outward toward the corners, seating the profile fully. Use a rubber mallet or a block wrapped in cloth to gently tap the seal into place if needed.
- Reinstall the steel/stainless windshield trim into the seal’s groove, ensuring it engages evenly along the perimeter. Replace fasteners and clips as removed.
- Inspect the full perimeter for proper seating and even compression. If accessible, tighten exterior trim fasteners gradually and evenly.
- Allow any lubricant or soapy residue to dry. Check for leaks after installation by gently spraying water around the windshield and rechecking trim seating. Make adjustments as needed.
Since 1986 Precision Replacement Parts has been a trusted name in the Automotive Glass Industry.
Our knowledge and experience in manufacturing millions of extruded and molded EPDM Rubber, PVC and HDPE based plastics, and various stamped and extruded metal products for the classic and late model industries has allowed Precision to expand our services into multiple product markets.
Along with our own USA based production facility, Precision also partners with 25 different manufactures worldwide with a reputation as a global leader supplying OEM and replacement products to a number of different industries. Our partnerships along with our own in-house manufacturing and fabrication capability gives Precision a unique position in helping to meet the expanding needs of customers everywhere, providing them with a sustained competitive advantage.

Vehicle Fitment:
| Make | Model | Years | Fitment Notes |
| Ford | Thunderbird | 1955 - 1957 | Coupe 2 door |
Specifications:
| Part Type | Windshield Seal |
| Proposition 65 | www.P65Warnings.ca.gov |
| Warranty | Lifetime on Defects TX |

