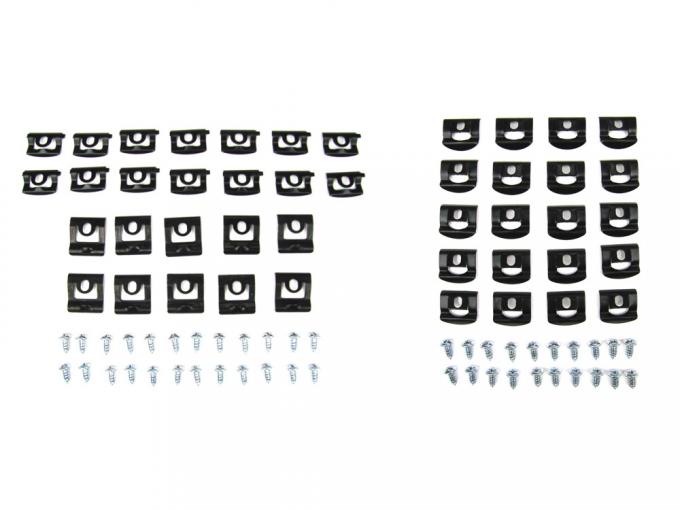
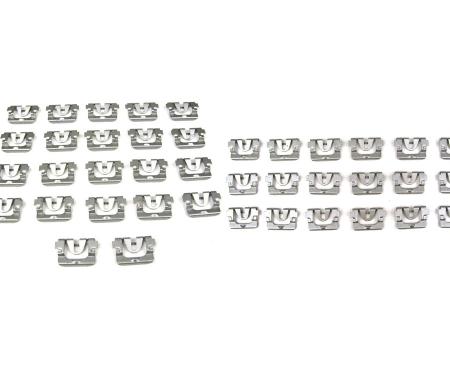
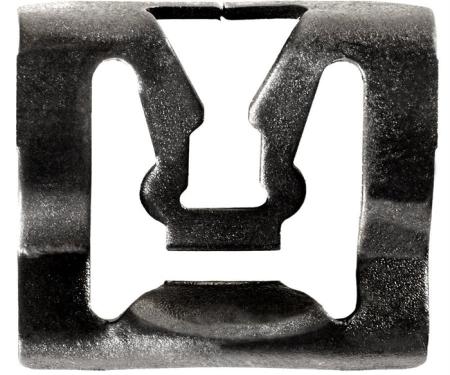
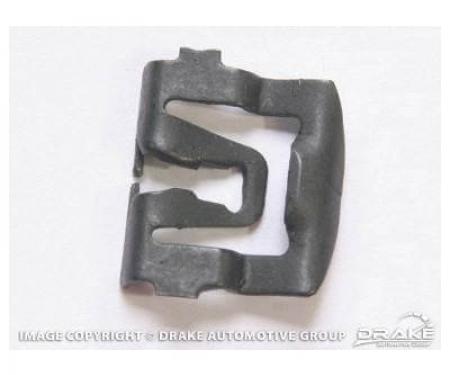
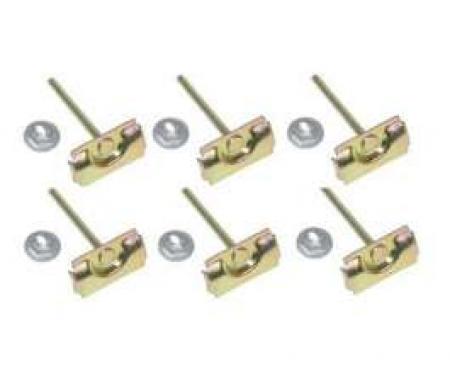
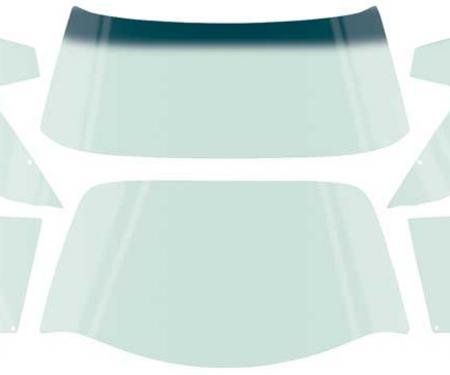
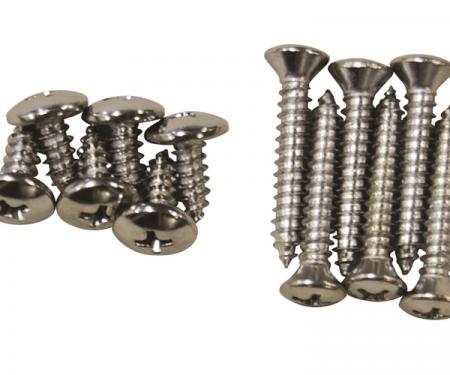
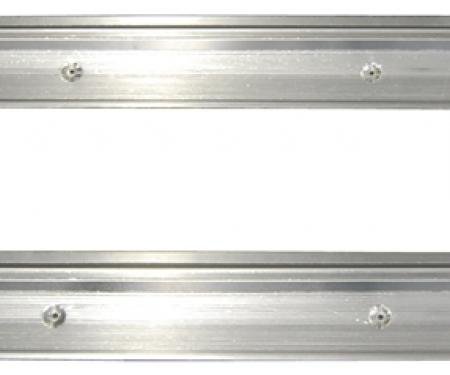
Precision Fits 2 door hardtop (coupe) models - Molding Clip Kit, Windshield and Rear Window Kits MCK-3440-68
- Designed for 2-door hardtop (coupe) models to secure windshield and rear window moldings
- High-strength, corrosion-resistant metal cores with durable polymer housings for long-lasting retention
- Restores proper fitment and alignment of exterior glass moldings to reduce wind noise and water leaks
- Direct replacement for worn or broken factory clips — ideal for restoration and maintenance projects
- Snap-in design enables fast installation and removal without damaging trim or glass
- Pack includes a complete set of clips needed for windshield and rear window molding applications
- Difficulty: 2/5
- Estimated time: 30-60 minutes
- plastic trim removal tool
- flat-head screwdriver
- needle-nose pliers
- socket wrench set or ratchet
- rubber mallet (optional)
- safety glasses
- silicone spray or light lubricant
- clean rag and rubbing alcohol
- Park the vehicle on a level surface and wear safety glasses. Remove the existing molding or trim pieces around the windshield/rear window using a plastic trim tool to avoid scratching paint or glass.
- Carefully pry out and remove the old clips from the channel. Use needle-nose pliers or a flat-head screwdriver if required, taking care not to damage the molding or channel.
- Clean the molding channel and mounting surface with a rag and rubbing alcohol to remove dirt, adhesive residue, and old sealant. Inspect the channel for rust or damage and repair if necessary.
- Test-fit a new clip onto the molding to confirm orientation. Apply a light spray of silicone lubricant to the channel if desired to aid installation.
- Position each clip in the channel at the manufacturer-specified spacing (or match the spacing of the original clips). Press each clip firmly into the channel until it snaps or seats fully in place.
- Reinstall the molding by aligning it with the clips and pressing evenly along the length until the molding engages each clip securely. Use a rubber mallet with a protective block if gentle persuasion is required.
- Trim or adjust any excess material and reinstall any weatherstrip or trim pieces removed earlier. Verify the molding sits flush and even along the glass.
- Check for proper sealing by inspecting gaps and performing a water test or driving test to ensure there is no wind noise or leakage.
Since 1986 Precision Replacement Parts has been a trusted name in the Automotive Glass Industry.
Our knowledge and experience in manufacturing millions of extruded and molded EPDM Rubber, PVC and HDPE based plastics, and various stamped and extruded metal products for the classic and late model industries has allowed Precision to expand our services into multiple product markets.
Along with our own USA based production facility, Precision also partners with 25 different manufactures worldwide with a reputation as a global leader supplying OEM and replacement products to a number of different industries. Our partnerships along with our own in-house manufacturing and fabrication capability gives Precision a unique position in helping to meet the expanding needs of customers everywhere, providing them with a sustained competitive advantage.

Vehicle Fitment:
| Make | Model | Years | Fitment Notes |
| Dodge | Coronet | 1968 - 1970 | |
| Plymouth | GTX | 1968 - 1970 | Coupe 2 door |
| Plymouth | Road Runner | 1968 - 1970 | Coupe 2 door |
| Plymouth | Satellite | 1968 - 1970 | Coupe 2 door |
Specifications:
| Part Type | Molding Clip |
| Proposition 65 | www.P65Warnings.ca.gov |
| Warranty | Lifetime on Defects TX |

