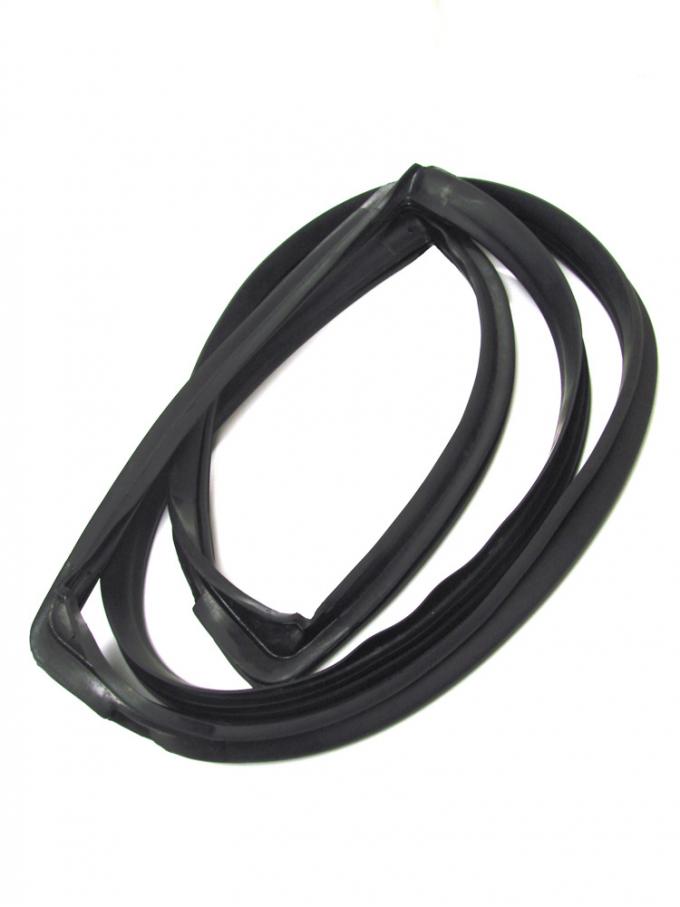
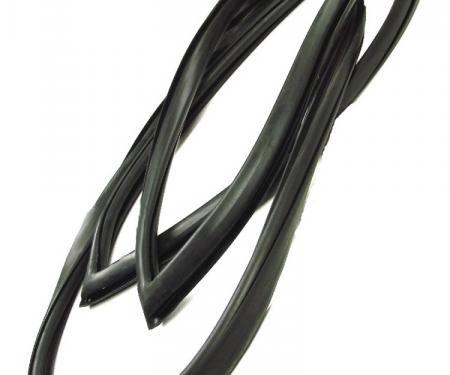
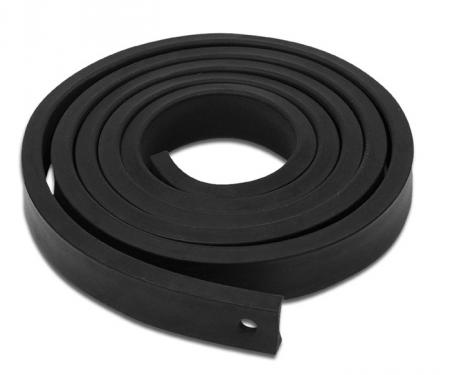
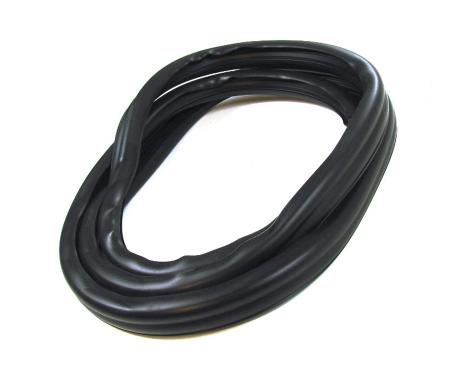
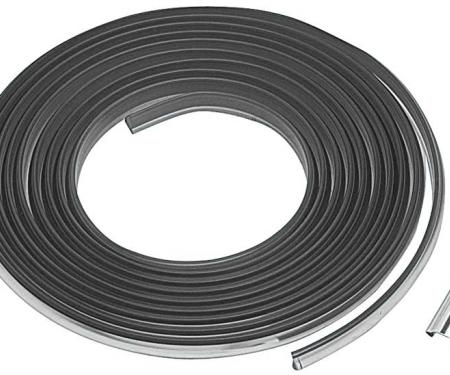
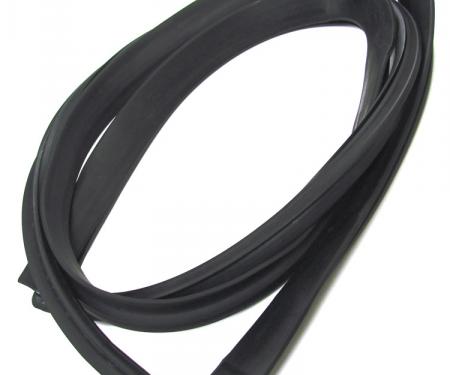
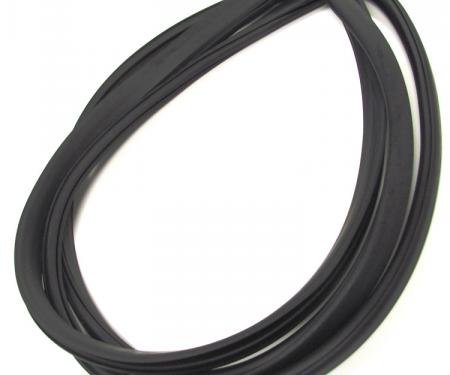
Precision 2Dr Hardtop - Windshield Self-locking Weatherstrip Seal Works With Chrome Trim WCR D690
- Works with chrome trim WCR D690 and designed for 2-door hardtop windshield applications.
- Self-locking profile grips the windshield channel for secure, vibration-resistant sealing.
- Made from weather-resistant rubber for durability against UV, ozone and temperature cycling.
- Reduces water leaks, wind noise and interior damage by creating a reliable seal at the windshield edge.
- OEM-style appearance for restoration projects and replacement applications.
- Simple installation — no specialized adhesives typically required; trims easily to fit.
- Difficulty: 2/5
- Estimated time: 30–60 minutes
- Isopropyl alcohol and clean cloth
- Mild soapy water or silicone lubricant
- Plastic trim tool or nylon pry tool
- Rubber mallet or padded block
- Utility knife or sharp scissors
- Measuring tape
- Masking tape
- Prepare the area: remove existing weatherstrip and any old adhesive or debris from the windshield channel. Clean surfaces with isopropyl alcohol and allow to dry.
- Test-fit the new weatherstrip along the windshield edge and chrome trim to confirm orientation and length. Identify any excess to be trimmed.
- Lubricate the bulb or locking bead lightly with soapy water or a silicone-based lubricant to ease insertion (do not use petroleum-based products).
- Begin installation at the center top of the windshield. Align the seal and press the locking bead into the channel, working outward toward each corner.
- Use a plastic trim tool to help seat the seal into tight sections and a rubber mallet or padded block to gently tap the seal into place where needed. Avoid metal tools that can damage the seal or trim.
- Trim any excess material with a utility knife or sharp scissors, leaving a clean butt joint at the seam. Use masking tape to hold seams tightly while the seal sets if necessary.
- Inspect the mating area with the chrome trim installed (if applicable) to ensure the seal interfaces correctly and there are no gaps. Recheck for leaks and secure fit before final reassembly.
- Allow the seal to set for a short period (per lubricant instructions) before driving. Recheck after first drive and retighten or reseat any areas if needed.
Since 1986 Precision Replacement Parts has been a trusted name in the Automotive Glass Industry.
Our knowledge and experience in manufacturing millions of extruded and molded EPDM Rubber, PVC and HDPE based plastics, and various stamped and extruded metal products for the classic and late model industries has allowed Precision to expand our services into multiple product markets.
Along with our own USA based production facility, Precision also partners with 25 different manufactures worldwide with a reputation as a global leader supplying OEM and replacement products to a number of different industries. Our partnerships along with our own in-house manufacturing and fabrication capability gives Precision a unique position in helping to meet the expanding needs of customers everywhere, providing them with a sustained competitive advantage.

Vehicle Fitment:
| Make | Model | Years | Fitment Notes |
| Dodge | Dart | 1968 - 1976 | |
| Dodge | Dart | 1973 | Coupe 2 door |
| Plymouth | Barracuda | 1968 - 1969 | Coupe 2 door |
| Plymouth | Scamp | 1974 - 1975 | |
| Plymouth | Scamp | 1971 - 1973 | Coupe 2 door |
| Plymouth | Valiant | 1974 - 1975 | |
| Plymouth | Valiant | 1971 - 1973 | Coupe 2 door |
Specifications:
| Part Type | Windshield Seal |
| Proposition 65 | www.P65Warnings.ca.gov |
| Warranty | Lifetime on Defects TX |

