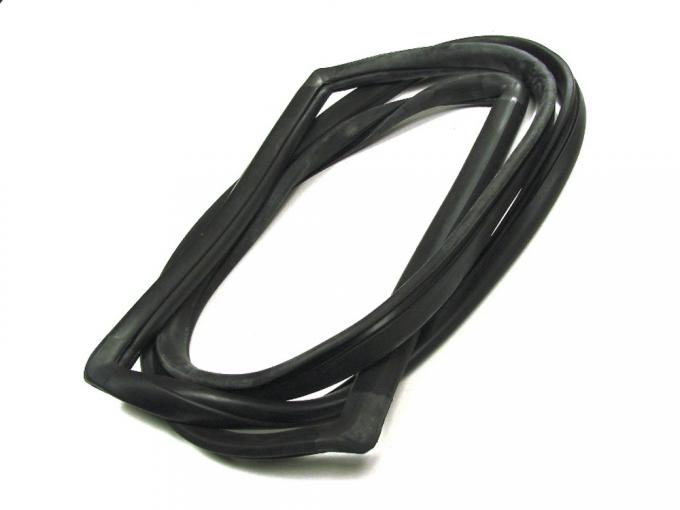
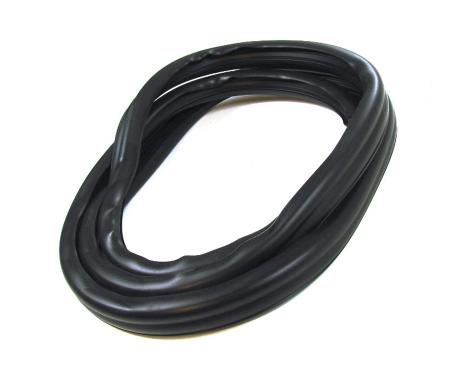
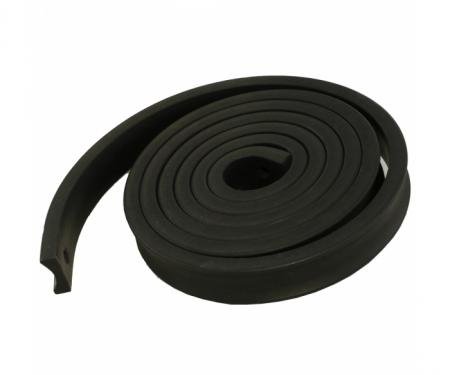
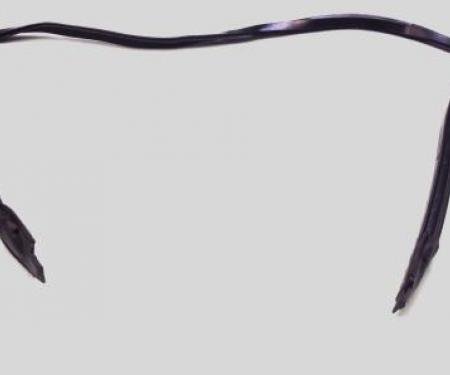
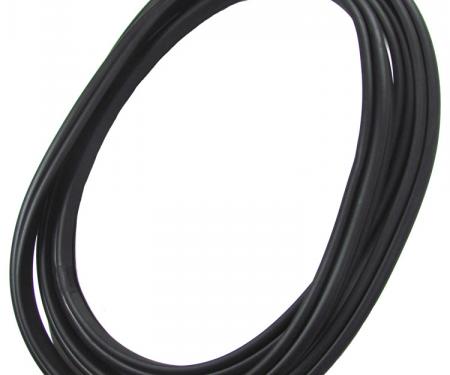
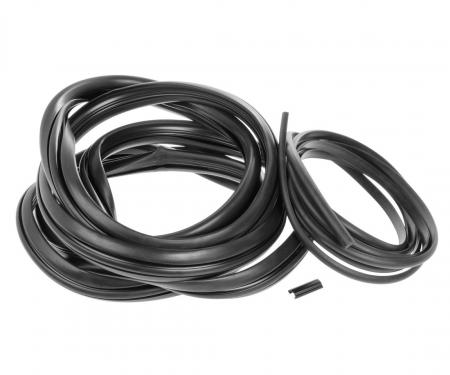
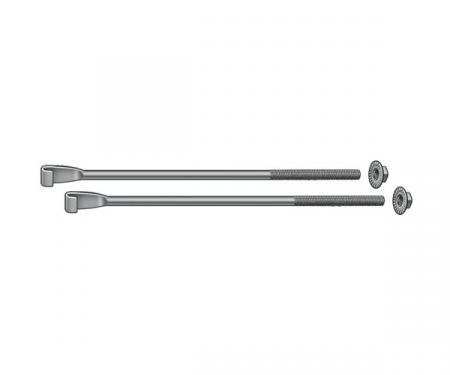
Precision Windshield Weatherstrip Seal Without Trim Groove WBL 819
- No-trim-groove WBL 819 profile for windshields that accept a flush rubber flange.
- Made from high-quality, weather- and UV-resistant rubber for long-lasting performance.
- Seals windshield edges to prevent water intrusion, dust entry, and wind noise.
- Flexible, compressible profile eases installation and conforms to glass and body contours.
- Ideal for restoration and replacement projects where an OEM-style rubber seal is required.
- Direct-replacement design restores fit and appearance without modifying the windshield or body.
- Difficulty: 2/5
- Estimated time: 30–90 minutes (may vary by vehicle and whether windshield is removed)
- Trim removal tools / plastic pry tools
- Utility knife or razor blade
- Isopropyl alcohol or adhesive remover
- Clean rags
- Urethane primer and adhesive (if windshield removal is required)
- Caulk gun (for urethane)
- Suction cups or windshield setting tool (if removing/installing glass)
- Gloves and safety glasses
- Tape measure or marker
- If replacing an existing seal, carefully remove the old weatherstrip and any adhesive remnants using trim tools and a razor blade; protect paint and glass.
- Thoroughly clean the windshield flange and glass edge with isopropyl alcohol or recommended adhesive remover; allow to dry.
- Test-fit the new WBL 819 seal around the glass/frame to confirm orientation and fit; trim excess if necessary.
- If the windshield will remain in the vehicle and the seal is a push-in style, lubricate the rubber bead with a mild soapy solution and press the seal evenly into the flange starting at the top center and working outward around both sides.
- If the windshield must be removed and reinstalled, follow vehicle-specific procedures: apply recommended primer and urethane adhesive per manufacturer directions, set the windshield with suction cups, and seat the seal into the adhesive while ensuring correct alignment.
- Work the seal into the channel completely, using plastic pry tools to avoid pinching or distortion. Cut and finish any overlaps cleanly.
- Allow any adhesives or primers to cure per product instructions, then inspect for gaps and test for leaks with water once cured.
Since 1986 Precision Replacement Parts has been a trusted name in the Automotive Glass Industry.
Our knowledge and experience in manufacturing millions of extruded and molded EPDM Rubber, PVC and HDPE based plastics, and various stamped and extruded metal products for the classic and late model industries has allowed Precision to expand our services into multiple product markets.
Along with our own USA based production facility, Precision also partners with 25 different manufactures worldwide with a reputation as a global leader supplying OEM and replacement products to a number of different industries. Our partnerships along with our own in-house manufacturing and fabrication capability gives Precision a unique position in helping to meet the expanding needs of customers everywhere, providing them with a sustained competitive advantage.

Vehicle Fitment:
| Make | Model | Years |
| Ford | Bronco | 1978 - 1979 |
| Ford | F-100 | 1967 - 1979 |
| Ford | F-150 | 1975 - 1979 |
| Ford | F-250 | 1967 - 1979 |
| Ford | F-350 | 1967 - 1979 |
Specifications:
| Part Type | Windshield Seal |
| Proposition 65 | www.P65Warnings.ca.gov |
| Warranty | Lifetime on Defects TX |

