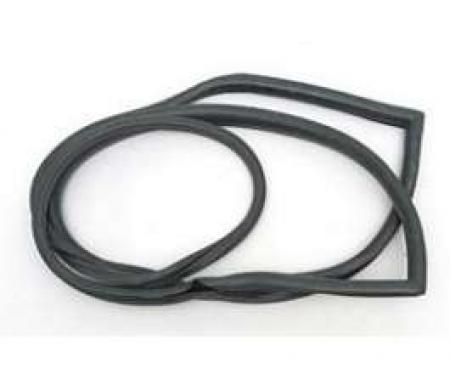
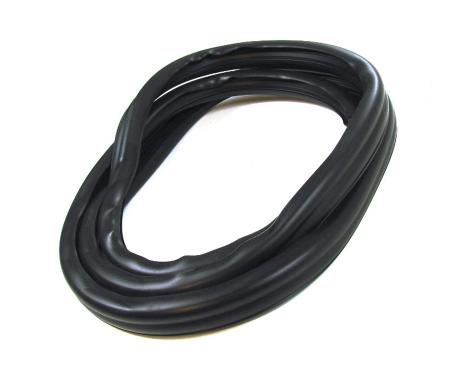
A direct-fit rear window self-locking weatherstrip seal designed for 2‑door hardtop cars (except Demon/Sport). This seal secures the rear glass, accepts the chrome trim that inserts into body clips, and restores a watertight, vibration-free seal at the rear window opening. Built to resist weathering and compressive set, it provides reliable protection against leaks, wind noise, and trim movement while simplifying restoration or replacement projects. Part number DB3861 compatible with chrome trim that locks into the factory body clips.
Features:
- Fits 2‑door hardtop models (except Demon/Sport).
- Self-locking design secures rear window and resists displacement.
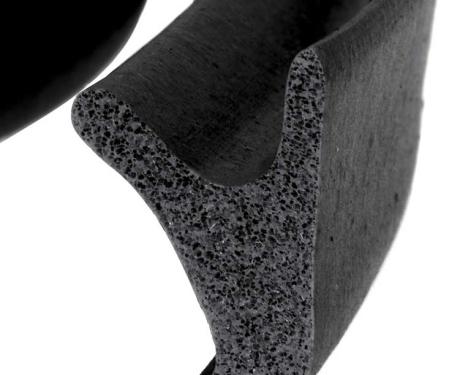
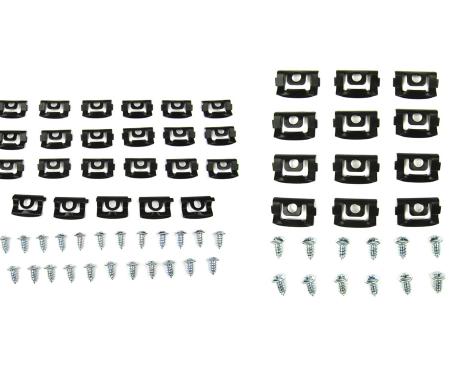
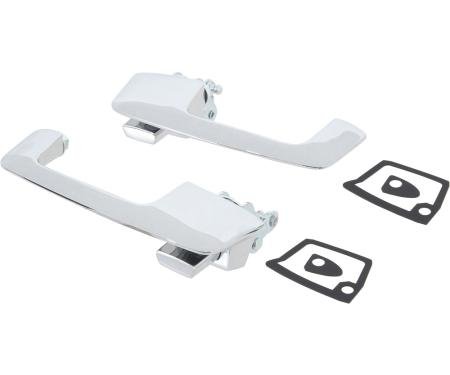
- Compatible with chrome trim that inserts into factory body clips (WCR DB3861).
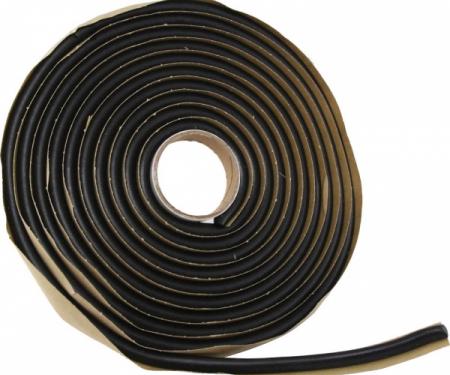
- Made from a durable, weather-resistant rubber compound for long life and UV resistance.
- Helps prevent water intrusion, reduce wind noise, and protect interior trim.
- Ideal for restoration or replacement to return original fit and finish.
Installation / Application:
- Difficulty: 2/5
- Estimated time: 30-60 minutes
Instructions:
- Remove the old weatherstrip and chrome trim: gently pry out the chrome trim that inserts into the body clips and pull the old seal from the channel.
- Clean the channel thoroughly: remove adhesive residue, dirt, and old sealant using isopropyl alcohol and a clean cloth. Ensure body clips are intact and aligned.
- Trial fit the new seal: align the new self-locking weatherstrip in the channel without fully seating it to confirm fit and trim compatibility.
- Install the chrome trim (if applicable): partially insert the chrome trim into the weatherstrip so it lines up with the body clips; this may be done before or after placing the seal depending on access.
- Seat the weatherstrip: starting at one end, press the seal into the channel, working around the opening. Use a soft-faced hammer or firm hand pressure to engage the self-locking lip into the flange. A small amount of soapy water can ease positioning.
- Lock the chrome trim into the body clips: press the trim into the clips so it secures the weatherstrip to the body. Verify each clip is fully engaged.
- Trim any excess material: if the seal is longer than needed, carefully trim with a utility knife or scissors and tuck the end for a neat finish.
- Inspect and test: check for even compression around the window, ensure the glass seats correctly, and test for leaks after a wash or light water spray. Re-adjust if necessary.
About Precision Replacement Parts
Since 1986 Precision Replacement Parts has been a trusted name in the Automotive Glass Industry.
Our knowledge and experience in manufacturing millions of extruded and molded EPDM Rubber, PVC and HDPE based plastics, and various stamped and extruded metal products for the classic and late model industries has allowed Precision to expand our services into multiple product markets.
Along with our own USA based production facility, Precision also partners with 25 different manufactures worldwide with a reputation as a global leader supplying OEM and replacement products to a number of different industries. Our partnerships along with our own in-house manufacturing and fabrication capability gives Precision a unique position in helping to meet the expanding needs of customers everywhere, providing them with a sustained competitive advantage.

Vehicle Fitment:
The Vehicle Fitment Guide is to be used as a general reference. The data has been provided by our suppliers and manufacturers and may contain errors or incorrect data. Always refer to a professional to verify correct fitment for your vehicle.
| Make |
Model |
Years |
Fitment Notes |
| Dodge |
Dart |
1968 - 1976 |
|
| Dodge |
Dart |
1973 |
Coupe
2 door |
| Plymouth |
Scamp |
1974 - 1976 |
|
| Plymouth |
Scamp |
1971 - 1973 |
Coupe
2 door |

 - Rear Window Self-locking Weatherstrip Seal, Works With Chrome Trim That Inserts into Body Clips WCR DB3861")
 - Rear Window Self-locking Weatherstrip Seal, Works With Chrome Trim That Inserts into Body Clips WCR DB3861")